
Install
Install Drylab Desktop on macOS, Windows or Ubuntu, finish the first-launch setup, and open your first local project.
Drylab Desktop runs your analyses on your own computer. You chat with Drylab the same way as on the web, but the notebooks, files and results are stored in a project folder you choose. This page covers installing the app on macOS, Windows and Ubuntu and the first launch. New to the Desktop App? Start with the Overview.
System requirements
| macOS | Windows | Ubuntu | |
|---|---|---|---|
| Operating system | macOS 13 (Ventura) or newer | Windows 10 version 1903 or newer, 64-bit | Ubuntu 24.04 or newer, 64-bit Intel or AMD |
| Memory | 16 GB RAM (32 GB or more recommended) | 16 GB RAM (32 GB or more recommended) | 16 GB RAM (32 GB or more recommended) |
| Free disk space | 40 GB | 40 GB | 40 GB (more for the GPU environment) |
| Other | Internet connection during install and first launch | Virtualization turned on in your computer's BIOS/UEFI settings, internet connection | Internet connection |
The analysis environment is large. When you choose an environment, the app shows how much space it needs (its size on disk, the download, and about 1 GB extra) and how much is free. If there isn't enough room, you can't continue until you free up space.
These are recommendations for typical datasets. Larger analyses need more memory and disk.
Plan: the Desktop App is included in the Lab Basic, Lab Plus, Lab Pro and Enterprise plans. On other plans, the app shows "The desktop app is not included in your plan" after you sign in, with Upgrade plan and Open the web app. See Plans & Billing.
Install the app
Download the installer from the download page, then follow the steps for your system.
Download the macOS installer
On the download page, pick the build that matches your Mac:
- Mac (Apple Silicon M): Macs with M1, M2, M3 or later chips.
- Mac (Intel Chip): Intel-based Macs.
Not sure which one you have? Open the Apple menu → About This Mac and check Chip (Apple M…) or Processor (Intel). The download is about 6.5–7 GB because it includes everything the app needs to run analyses.
Run the macOS installer
Open the downloaded .pkg file. It's signed by Drylab and verified by Apple, so macOS opens it without extra security steps.
- Welcome to Drylab Desktop lists what the package installs. Click Continue.
- Read the license, click Continue, then Agree.
- Click Install and enter your Mac password when asked.
- When you see "Drylab Desktop has been successfully installed", click Close.
The installer puts Drylab Desktop in your Applications folder, together with everything it needs to run analyses on your Mac. You don't need to install anything else. Reinstalling resets the app's local settings and analysis environment; your project folders are kept.
Open Drylab Desktop on macOS
Open Applications → Drylab Desktop (or search for it with Spotlight) and sign in. The first launch then prepares your analysis environment: see First launch.
Download the Windows installer
On the download page, click Windows (x64). The installer is about 500 MB. If the analysis environment isn't on your computer yet, setup downloads it, which takes longer.
Run the setup wizard
Open the downloaded .exe.
Windows then asks for permission to make changes: click Yes. Setup needs administrator rights to turn on the Windows features Drylab uses. If you click No, nothing is installed; open the installer again and click Yes.
The setup wizard then guides you through each stage. The steps are listed on the left of the window:
- Welcome to Drylab Desktop: tick "I have read and accept the License Agreement and Privacy Policy." and click Next.
- Checking your system: setup checks for administrator rights, Windows 10 version 1903 or newer, and at least 8 GB of free disk space for setup.
- Download VM image: the analysis environment downloads. This step only appears when the environment needs downloading. You can leave the window open; it shows the amount downloaded, speed and time left.
- Enable Virtualization: setup turns on the Windows features Drylab needs.
- Install Drylab Desktop: the screen shows Setting up Drylab Desktop while the app is installed. This can take a few minutes on the first run.
- Finish: setup is done.
Restart if Windows asks
If Windows needs a restart to finish turning on virtualization, you see "Restart to finish enabling virtualization". Click Restart now (or Restart later and restart when you're ready). Setup continues automatically after the restart.
If setup says Windows couldn't turn on the features Drylab needs, restart your computer and run the installer again. If it still fails, make sure virtualization (also called VT-x, AMD-V, SVM or Intel Virtualization Technology) is turned on in your computer's BIOS/UEFI settings.
Open Drylab Desktop on Windows
When you see "Drylab Desktop is installed", leave Open Drylab Desktop now ticked and click Open now; the window also closes by itself after about 10 seconds and opens the app. Later, open Drylab Desktop from the Start menu or the desktop shortcut and sign in. The first launch then prepares your analysis environment: see First launch.
Copy the install command
On the download page, click Copy Install Command under Linux. It copies:
curl -sL https://install.thedrylab.com/ubuntu/install.sh | sudo bashRun it in a terminal
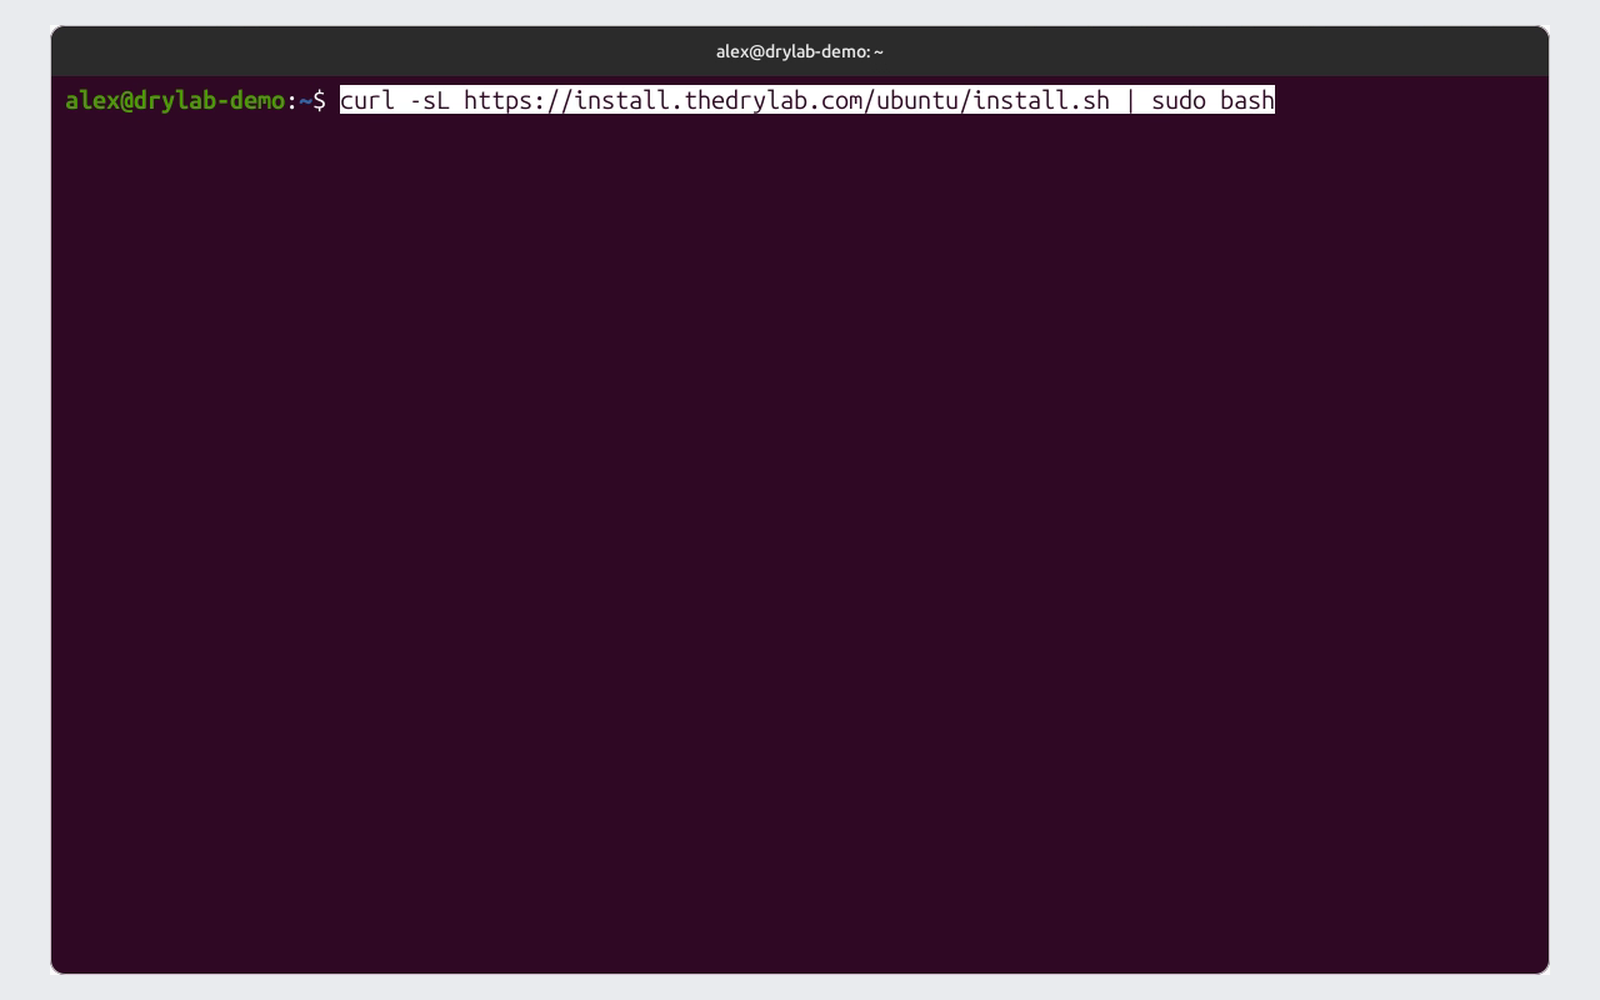
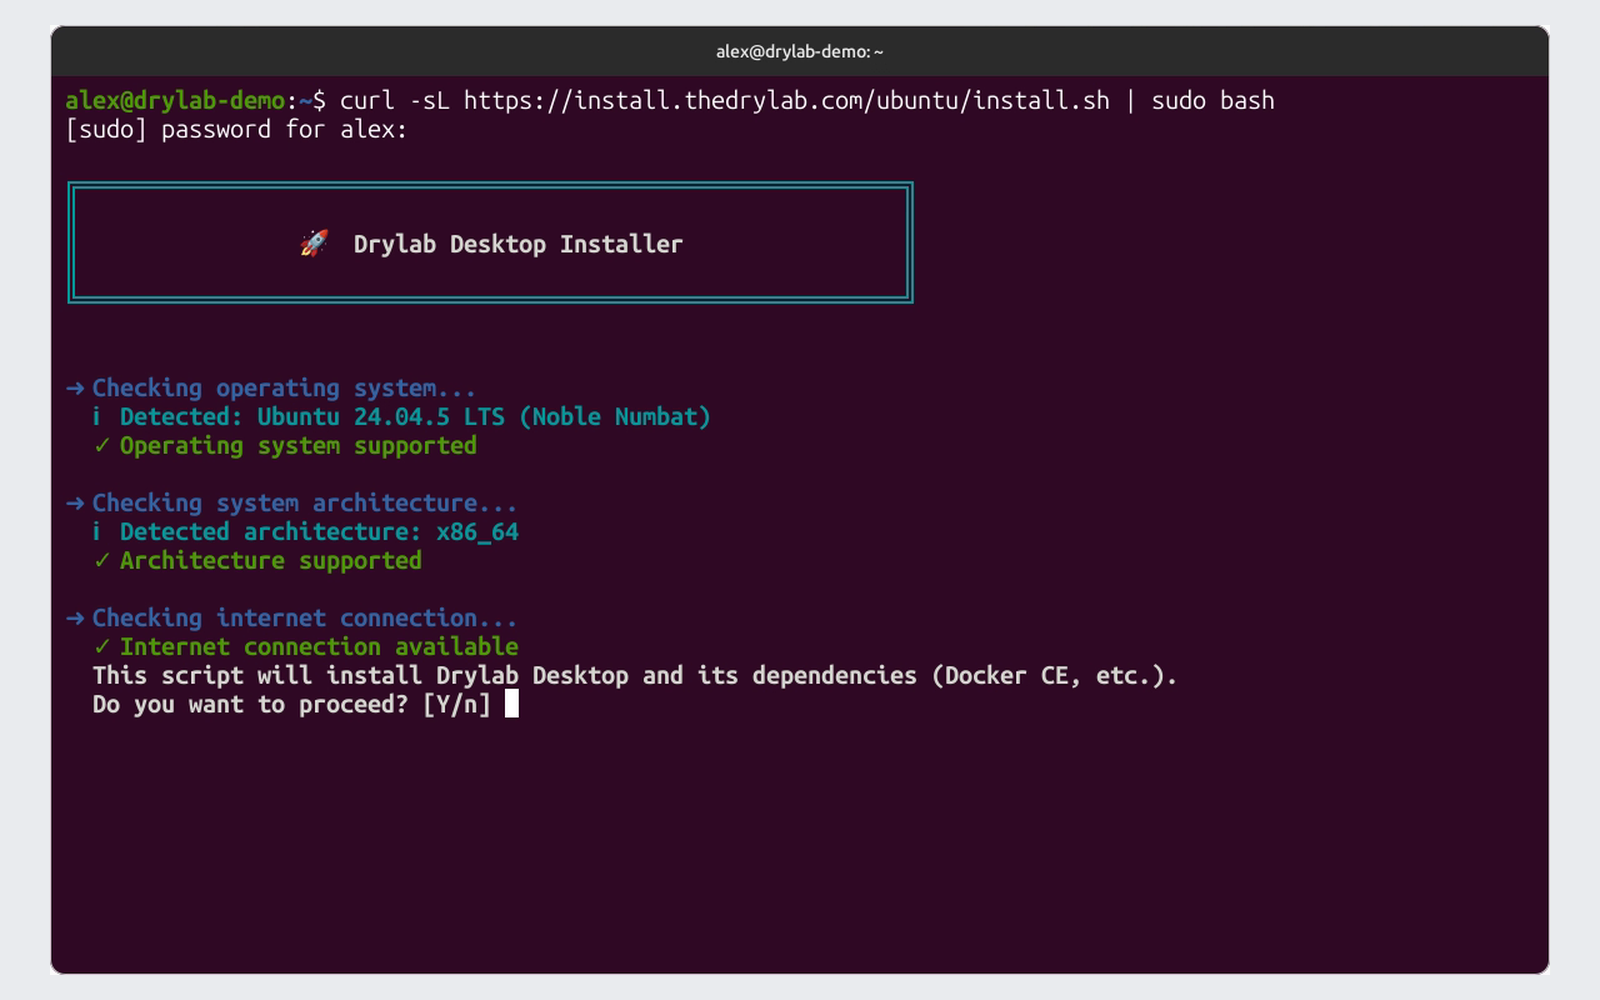
Paste the command into a terminal and press Enter. Enter your password when asked. The installer then:
-
Checks your system: Ubuntu, a 64-bit Intel or AMD computer and an internet connection.
-
Asks "Do you want to proceed? [Y/n]". Press Y (or Enter) to continue.
-
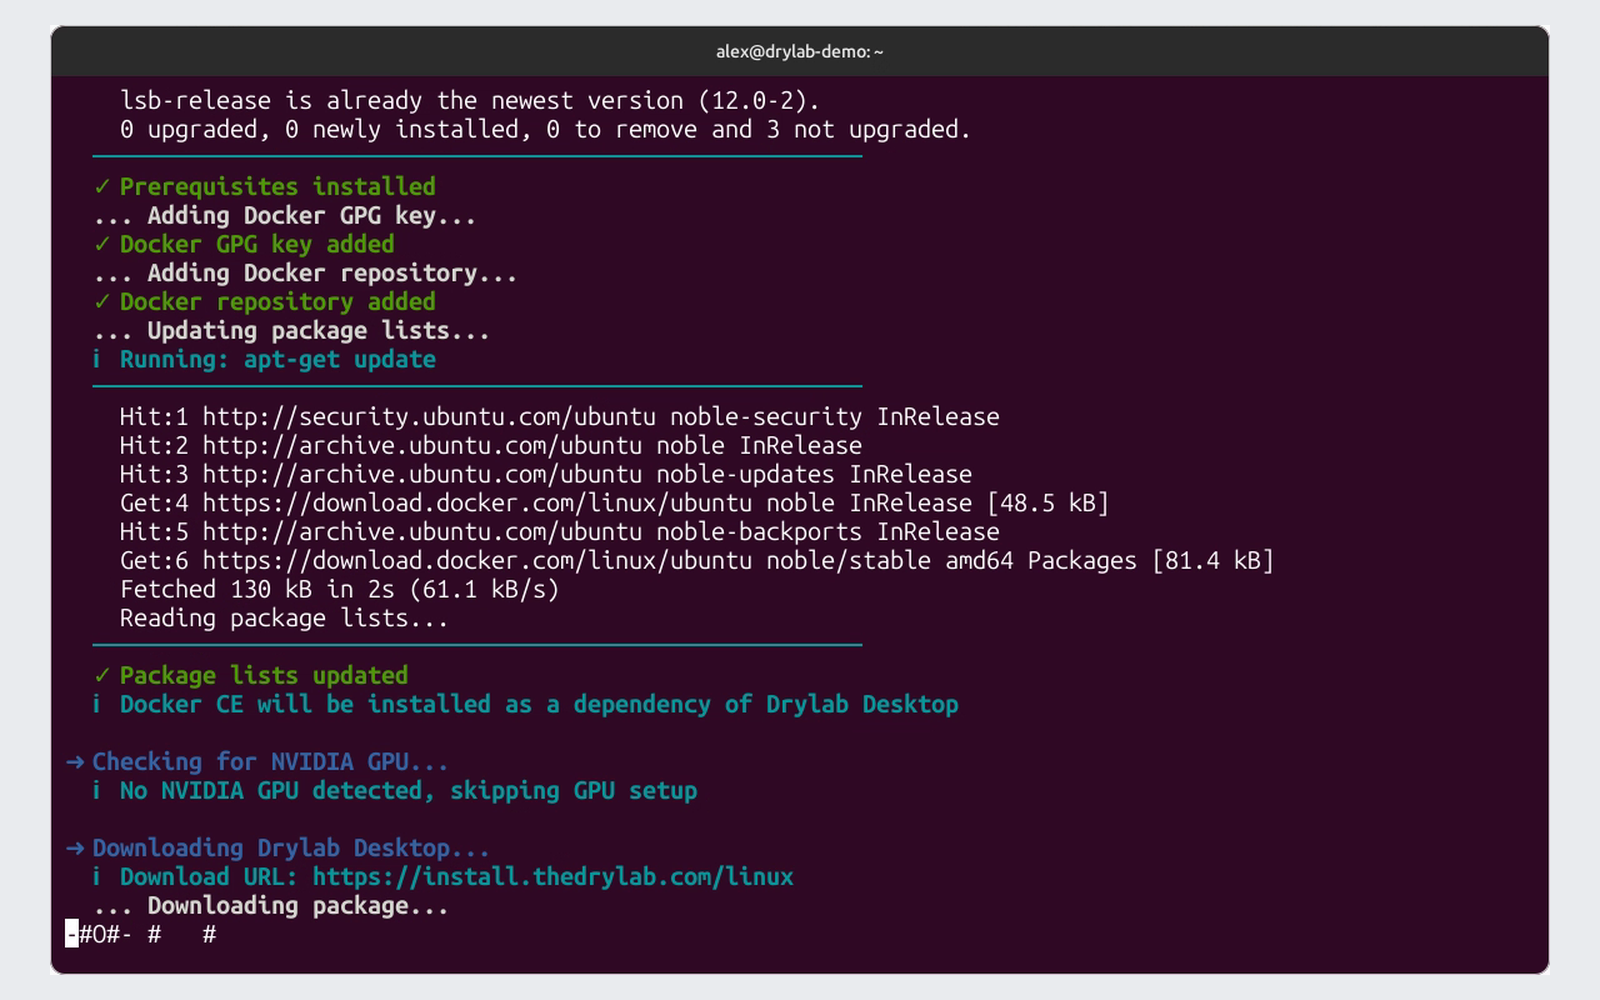
Installs Docker (which Drylab uses to run analyses), if you don't have it yet.
-
Checks for an NVIDIA graphics card. If it finds one, it sets up GPU support. Without one, this step is skipped.
-
Downloads and installs Drylab Desktop.
-
If it set up GPU support, it asks "Restart the Docker service now? [Y/n]". Restarting stops any analyses that are running. If you skip it, GPU support starts working after you run
sudo systemctl restart docker. -
Shows "Installation Complete!".
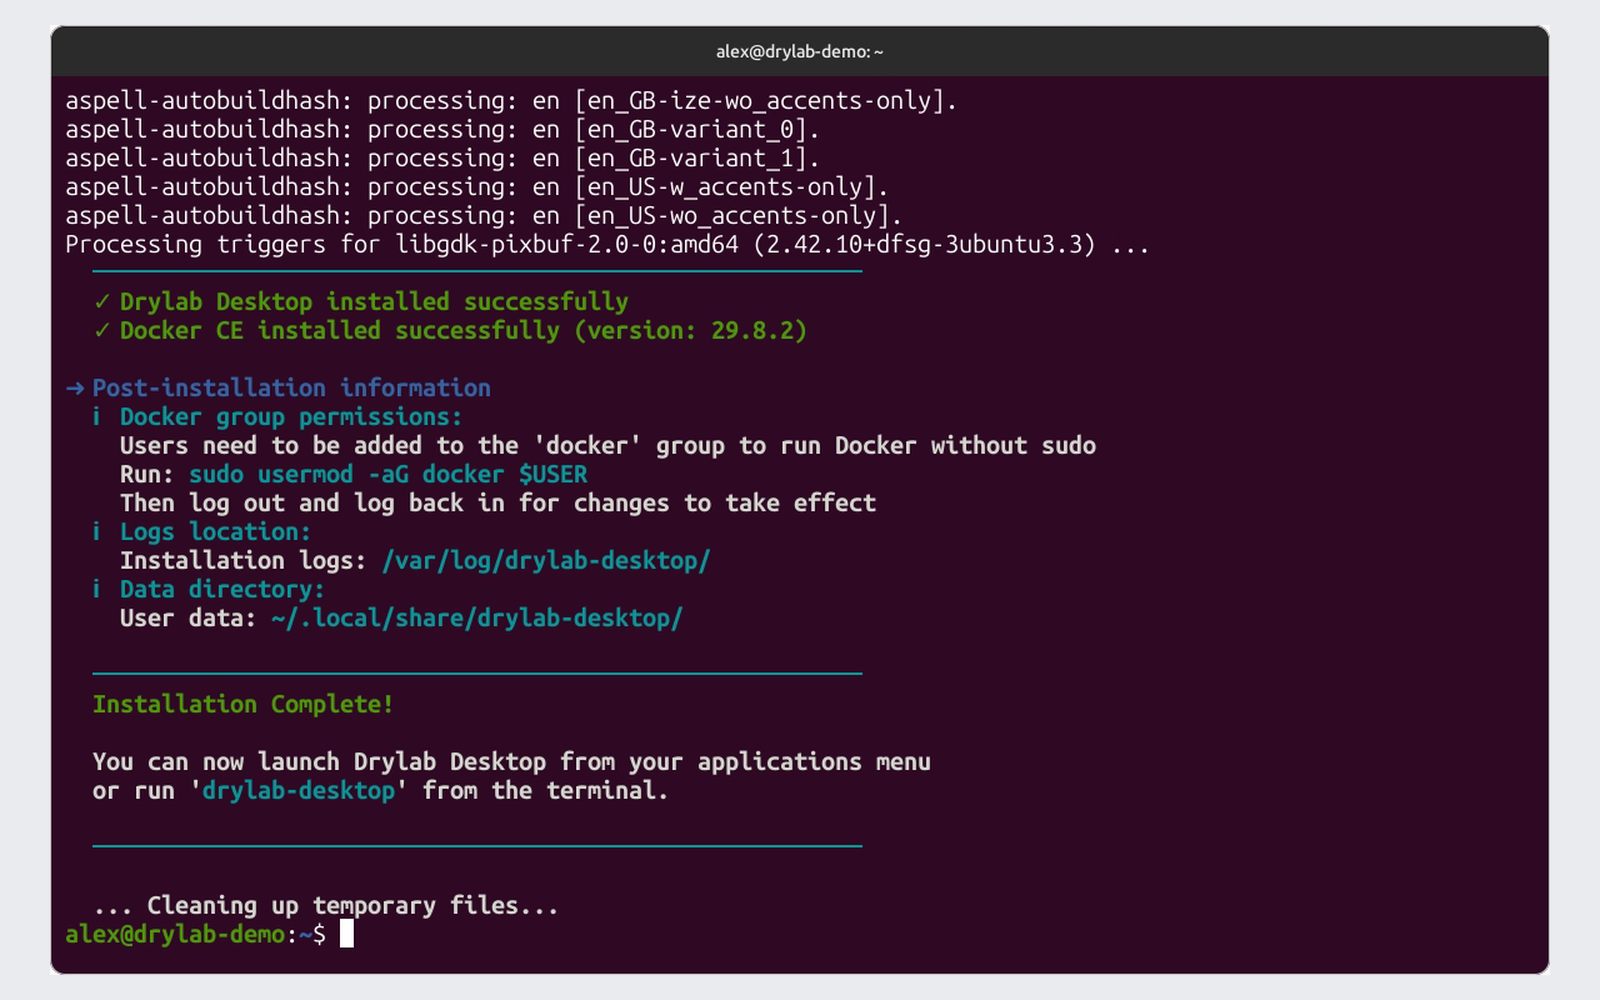
The installer already gives your account the permissions Drylab needs, so you can skip the usermod command it prints. Log out and back in once for the permissions to take effect.
Open Drylab Desktop on Ubuntu
Open Drylab Desktop from your applications menu, or run drylab-desktop in a terminal, and sign in. The first launch then prepares your analysis environment: see First launch.
If the app doesn't open and the terminal shows "libwoff2dec.so.1.0.2: cannot open shared object file", install the missing font library and open the app again:
sudo apt-get install -y libwoff1First launch
The first time you open Drylab Desktop, it signs you in and prepares the analysis environment on your computer. You only go through this once; later launches go straight to Get started.
Sign in
The app opens the Drylab sign-in page. Enter your email and click Continue, then enter your password and click Sign In. You can also click Continue with Google. If the email is new to Drylab, choose a password and click Create Account (see Create an Account).
Choose an environment
The analysis environments you can choose depend on your system, and Drylab may add new ones over time. For example:
| Environment | Use it when |
|---|---|
| Drylab Notebook | Most analyses. Works on any computer. |
| Drylab Notebook GPU | Your computer has an NVIDIA graphics card and you want GPU-accelerated tools. |
If more than one environment is available for your system, you see Select environment you would like to work on: pick one and click Next. Each option shows its size, and the Storage bar shows how much space it needs and how much is left. If only one environment is available, the app uses it automatically and you don't see this step.
Wait while the environment is prepared
Your environment is being prepared shows four steps:
- Setting up virtual machine: starts the space where your analyses run.
- Configuring network: finds the best region to connect to.
- Downloading image: downloads the analysis environment, with progress in percent.
- Finalizing setup: unpacks the environment.
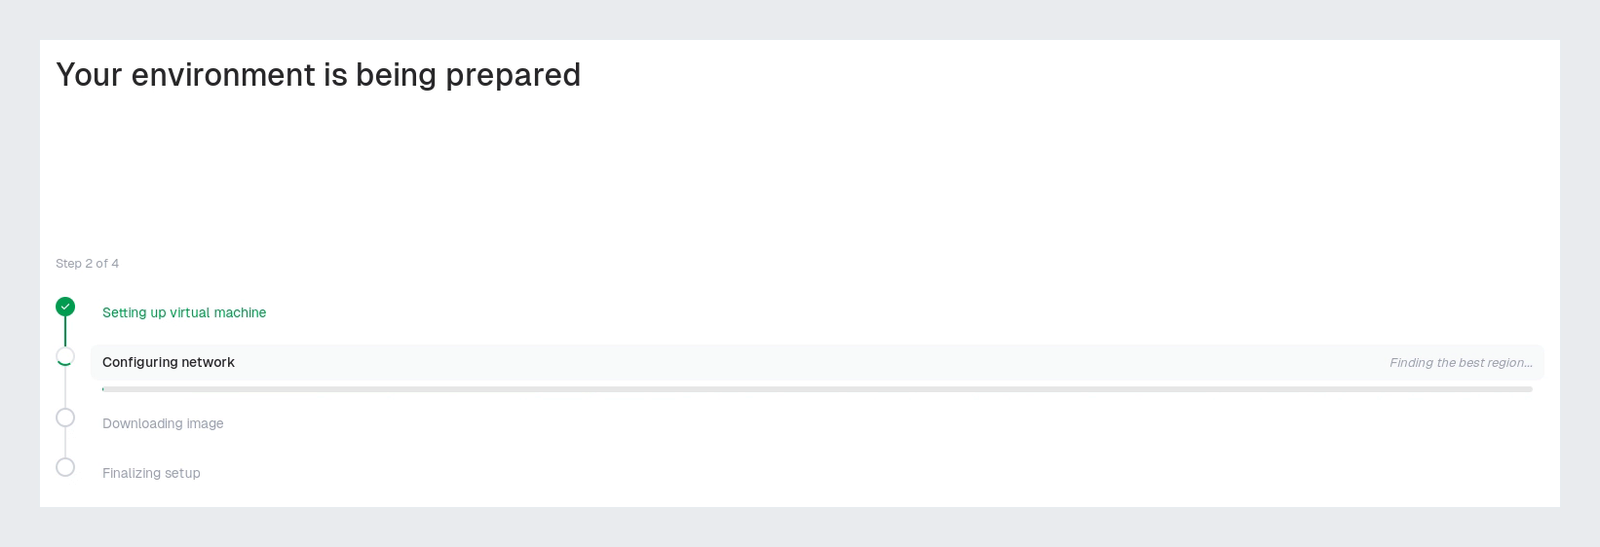
This can take several minutes, depending on your internet connection.
If the download fails, click Retry. If another step fails, close and reopen the app. On Windows you can also click Repair installation.
Open or create a project
In Drylab Desktop, each folder you open is one project: its notebooks, data and results are all stored in that folder, and its chats stay together. Use one folder per study or experiment, just as you would create a project on the web.
When you see Get started, click Open or Create Project and pick the folder for your project (Select Project Folder).
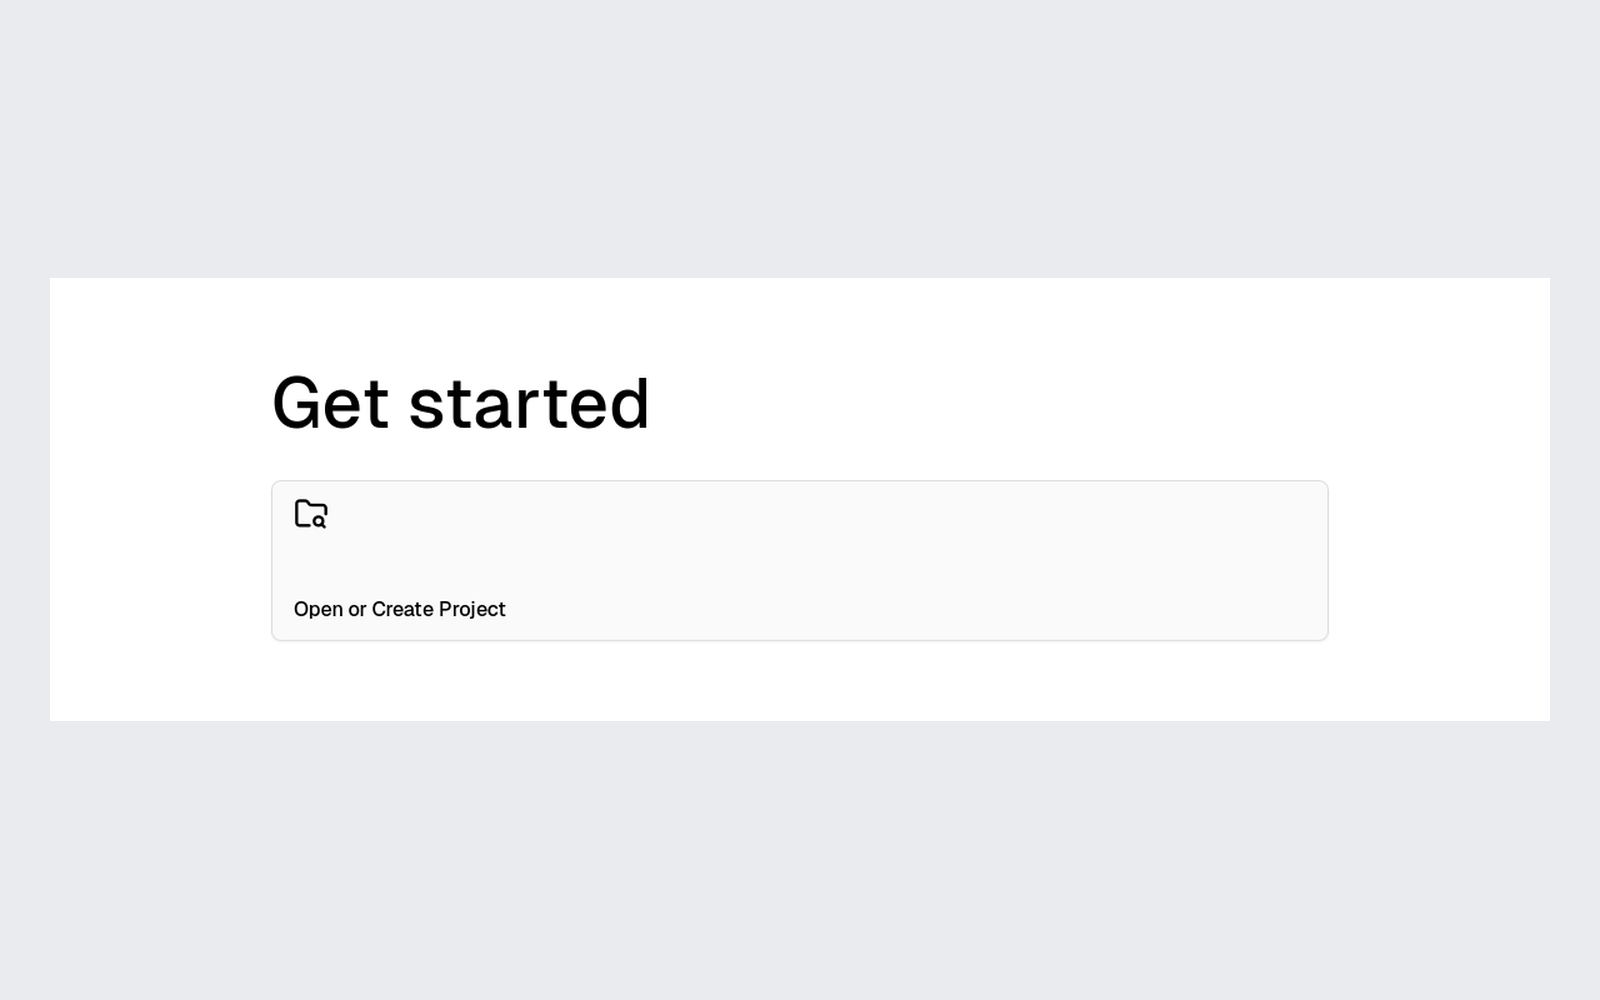
- If the folder is already one of your Drylab projects, it opens.
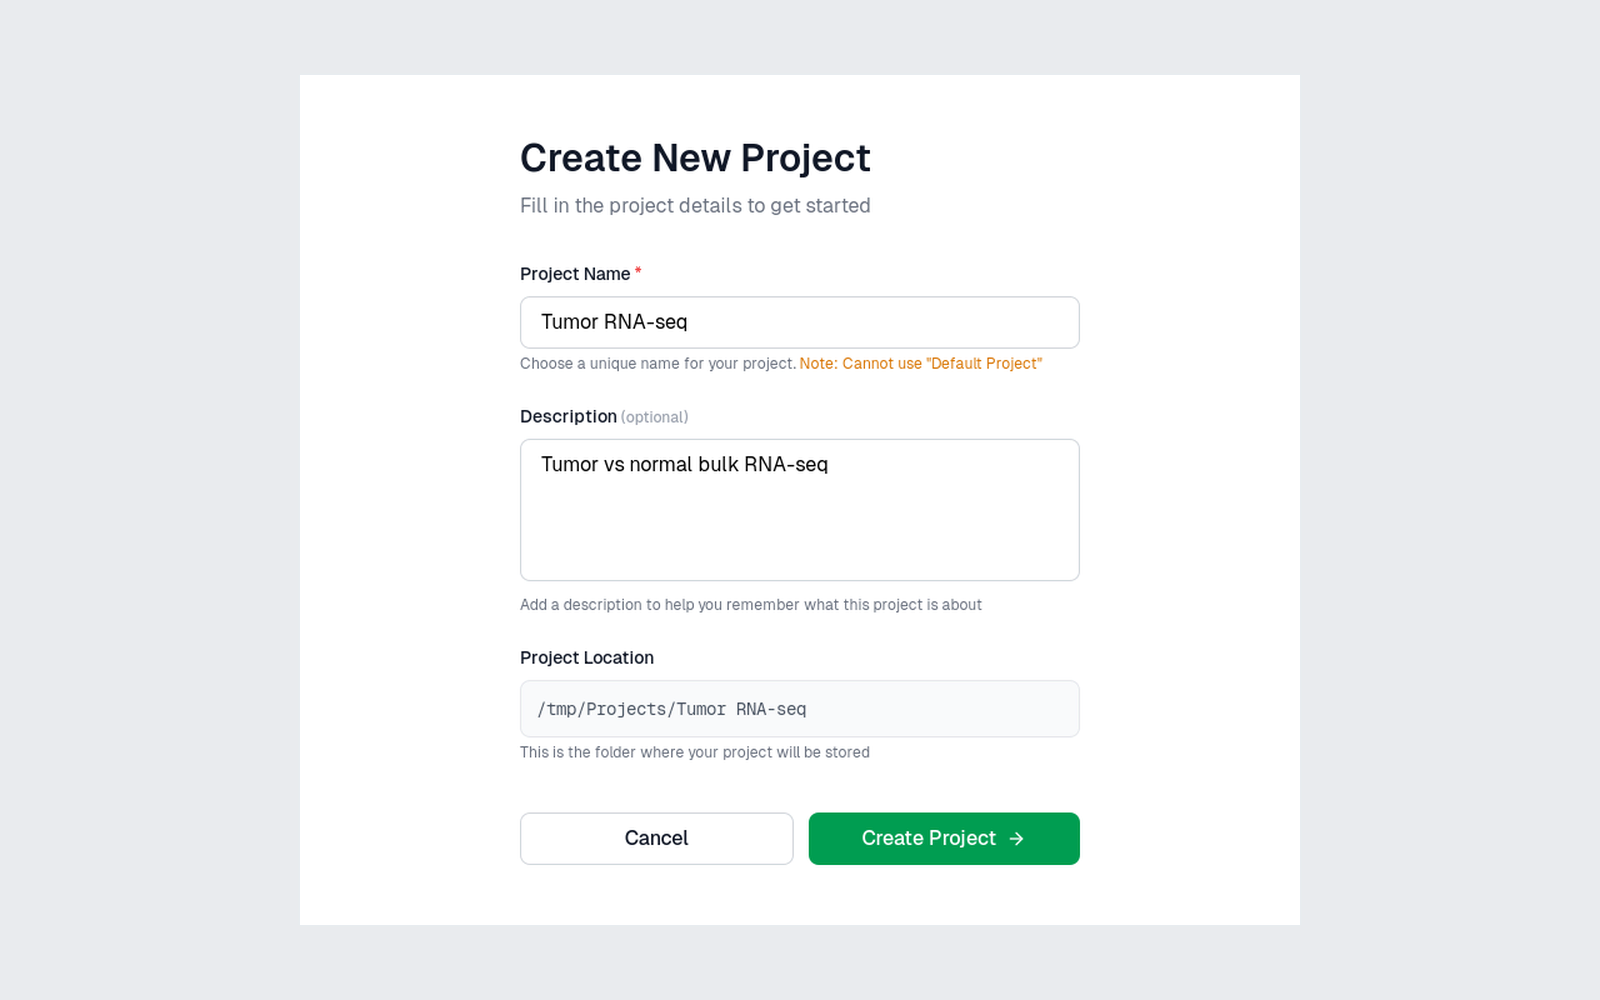
- If not, Create New Project opens. Enter a Project Name (it can't be "Default Project"), an optional Description, check the Project Location, and click Create Project.
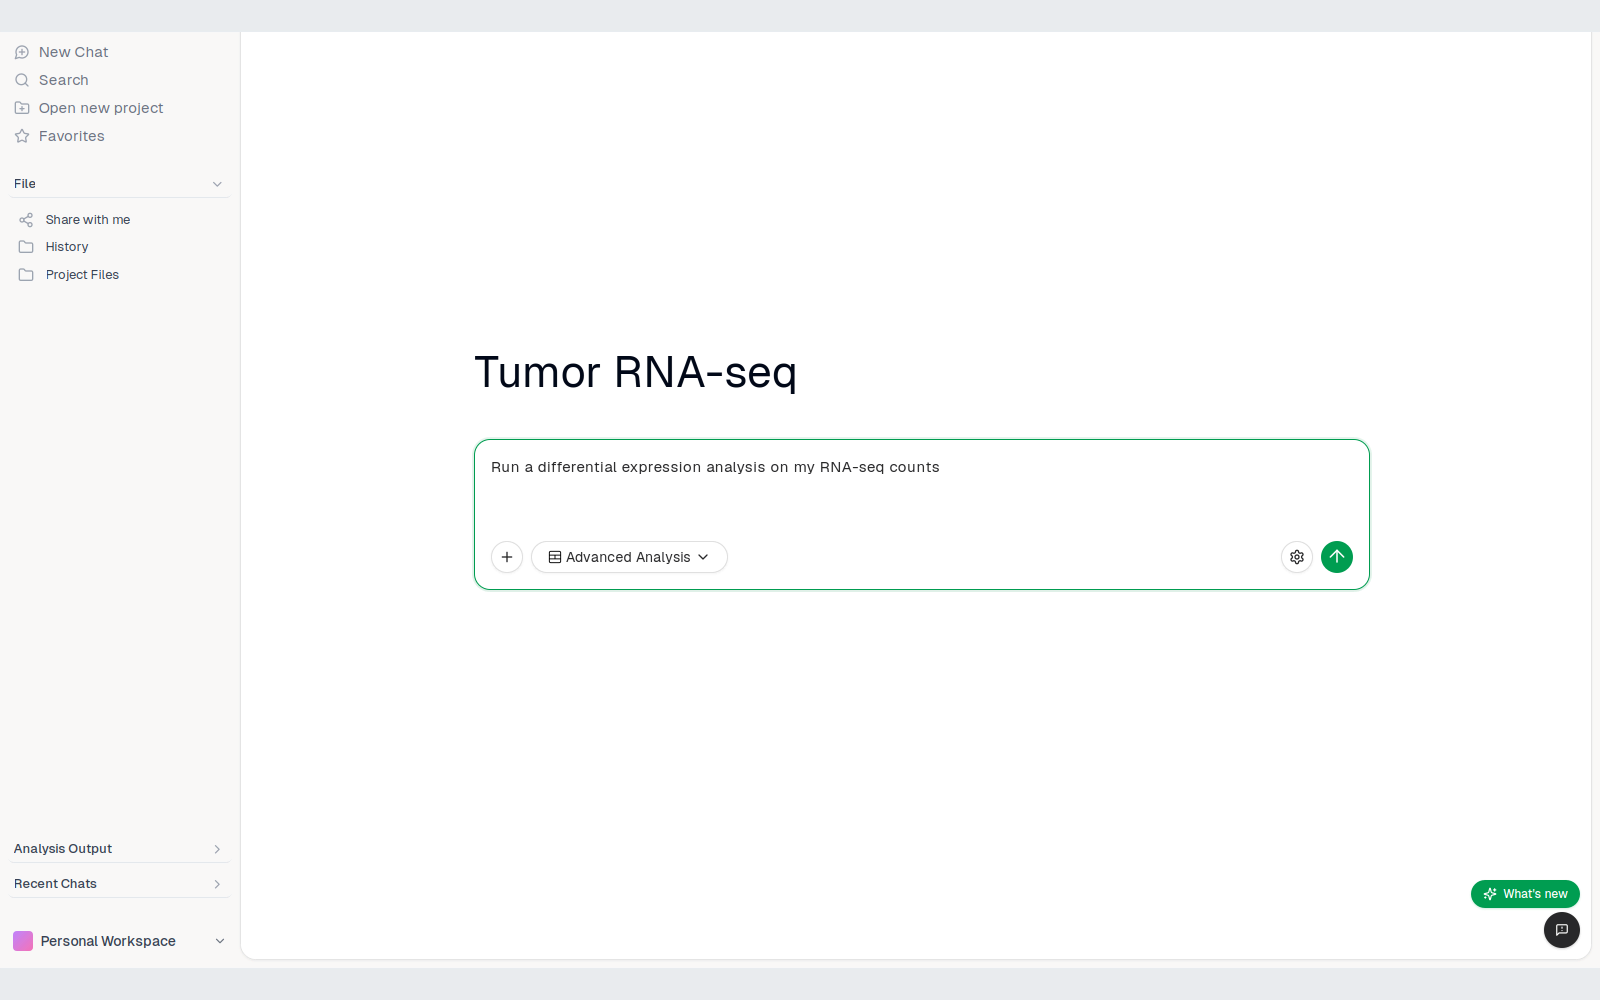
The project opens on the chat page, ready for your first question. Projects you've opened are listed under Recent Project on Get started, so you can switch between them. On Windows, pick a folder on your computer, not on a network drive.
Next steps
- Use the Desktop App: projects, files, results and sharing.
- Reset and Uninstall: start over or remove the app.
- Troubleshooting: fixes for install and setup problems.