
Storage
Transfers
Send whole projects, chats and files to another Drylab account or move them into your organization, then review and import transfers sent to you.
Transfers hand your work to someone else: whole projects with their chats and files, single chats, or just files. The other person imports them into their own Drylab, so they get the chats and results as well as the files. You can also use a transfer to move your own work into an organization you belong to.
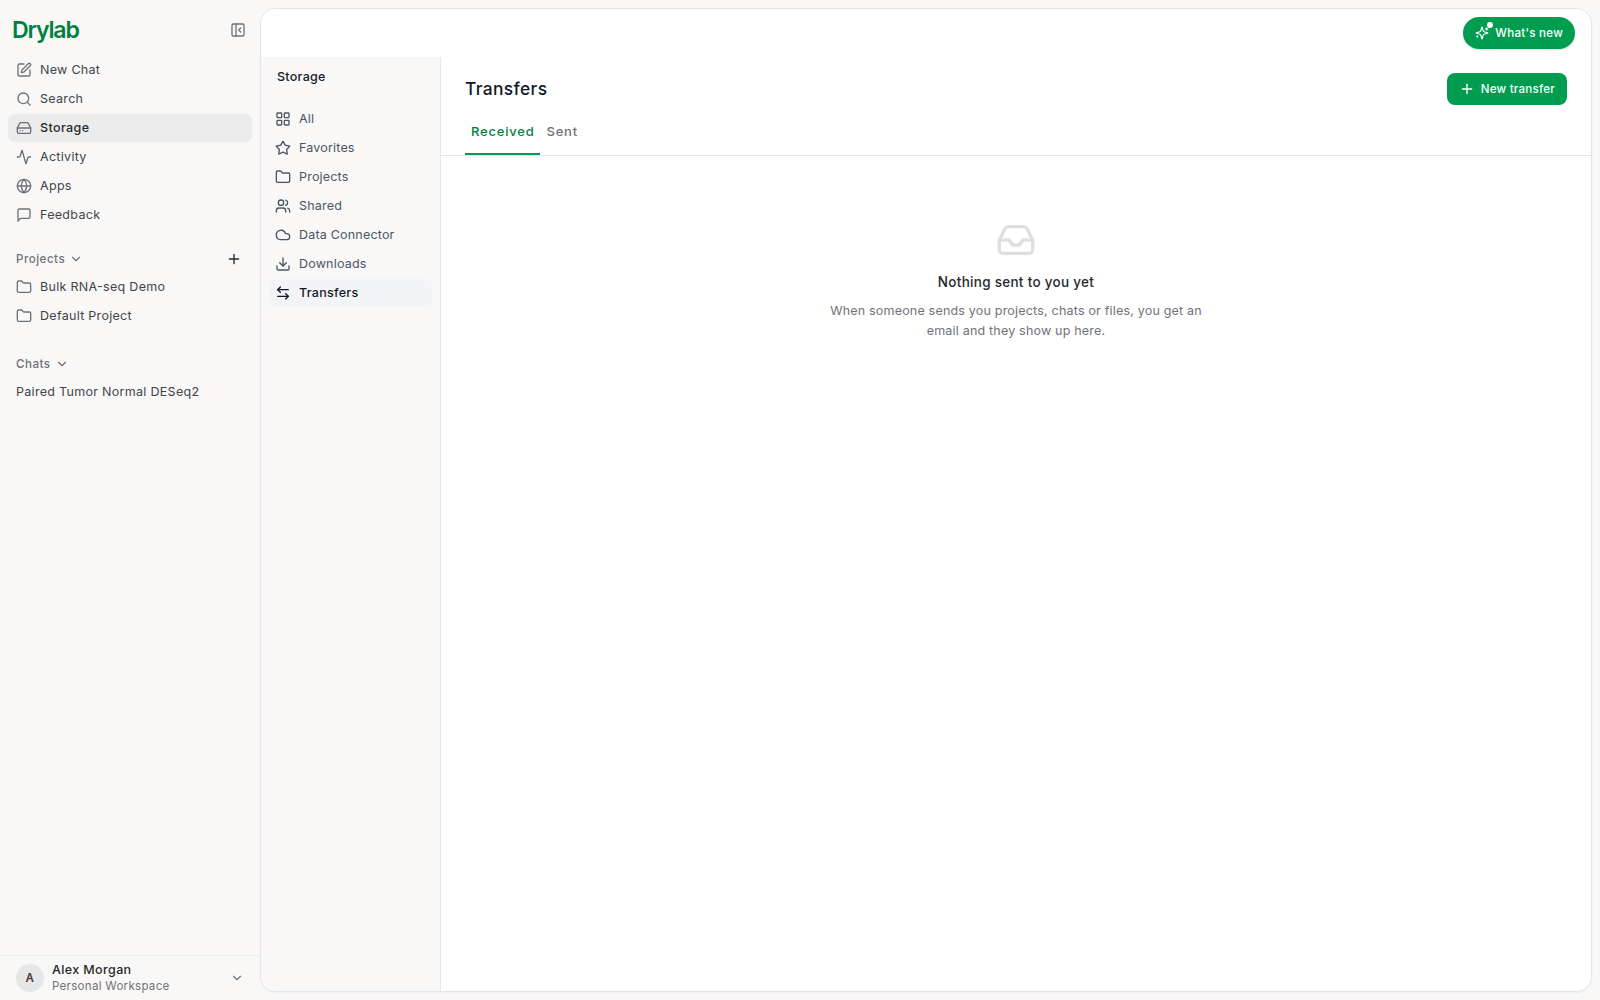
Open Storage > Transfers. Received lists what was sent to you; Sent lists what you sent.
Transfers are different from sharing: sharing lets people view your files where they are, while a transfer gives them their own copy to work on.
Send a transfer
-
In Transfers, click New transfer.
-
Choose what to send on the Projects, Chats or Files tab. Tick each item, or use Quick pick (All projects, All chats, All files). The panel on the right shows what you picked and the total size.
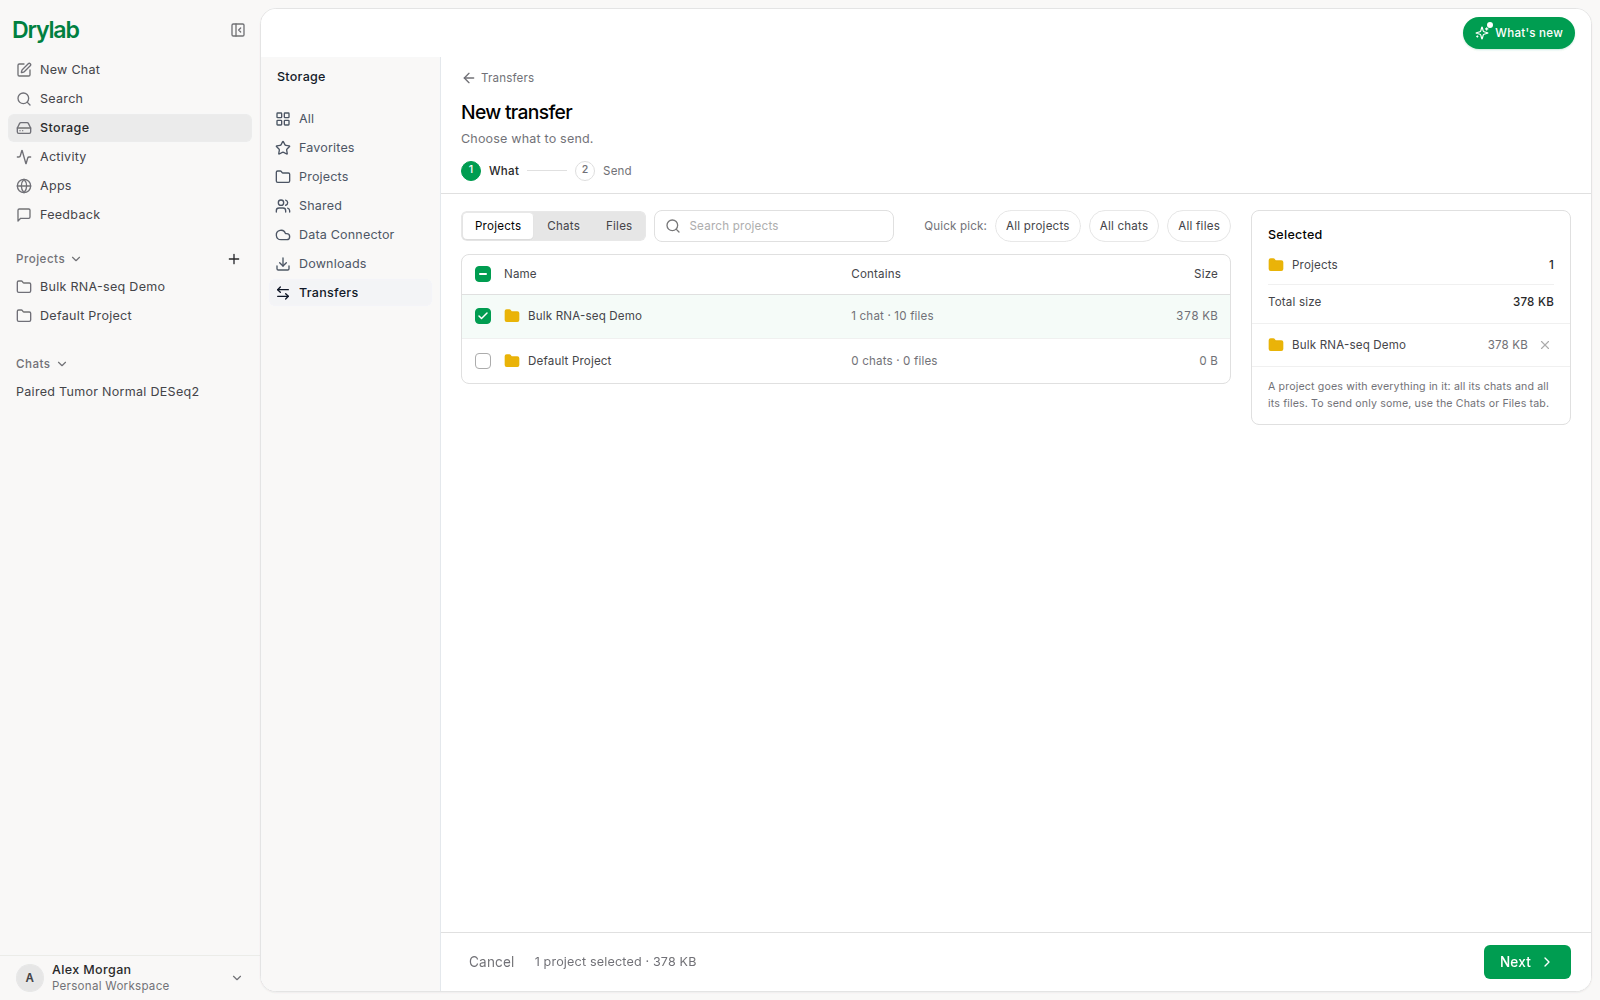
A project goes with everything in it: all its chats and all its files. To send only some, use the Chats or Files tab. On Chats, Include each chat's files sends the notebook, plots and tables each chat made; turn it off to send only the conversation. A chat that is still running can't be sent until it finishes.
-
Click Next.
-
Under To, choose Another person and enter Their email, or choose My other workspace to move work into an organization you belong to.
-
Under How, choose Copy (they get a copy, you keep yours) or Move (after they import, you can delete your originals).
-
Add a Message (optional) and click Send.
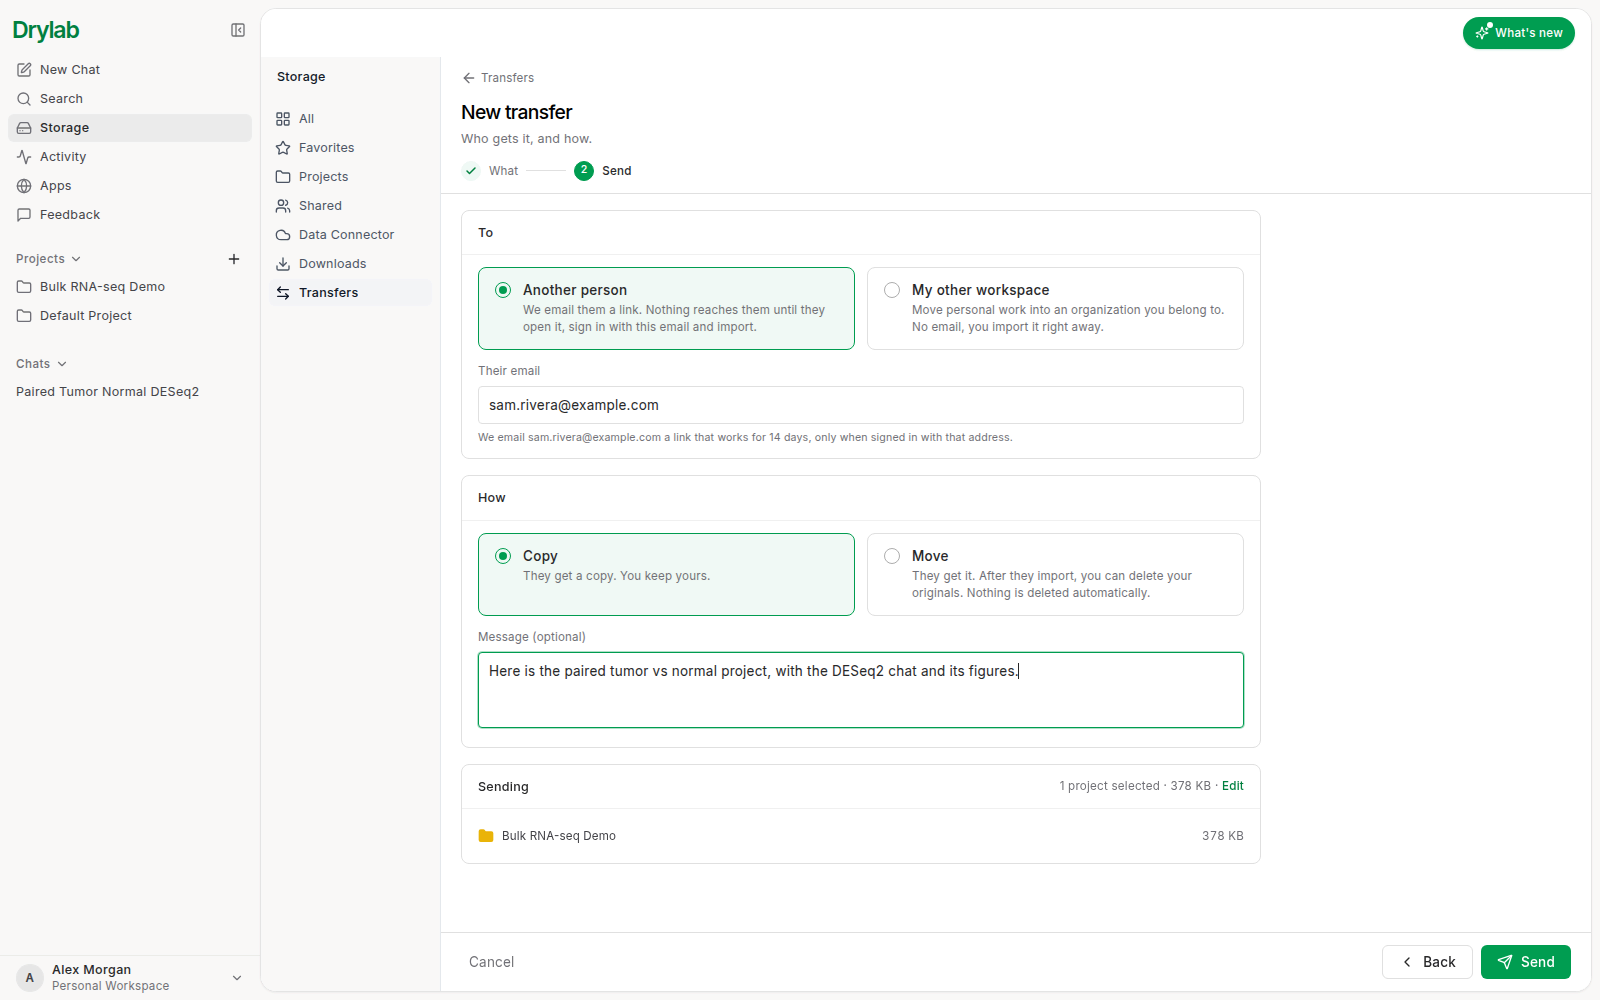
Drylab emails them a link. The link works for 14 days, and only when they're signed in with that email. If they don't use Drylab yet, the email invites them to sign up with that address first. Right after sending, you can click Undo in the confirmation to cancel.
You'll get an email when they accept, and again when the import finishes.
Follow what you sent
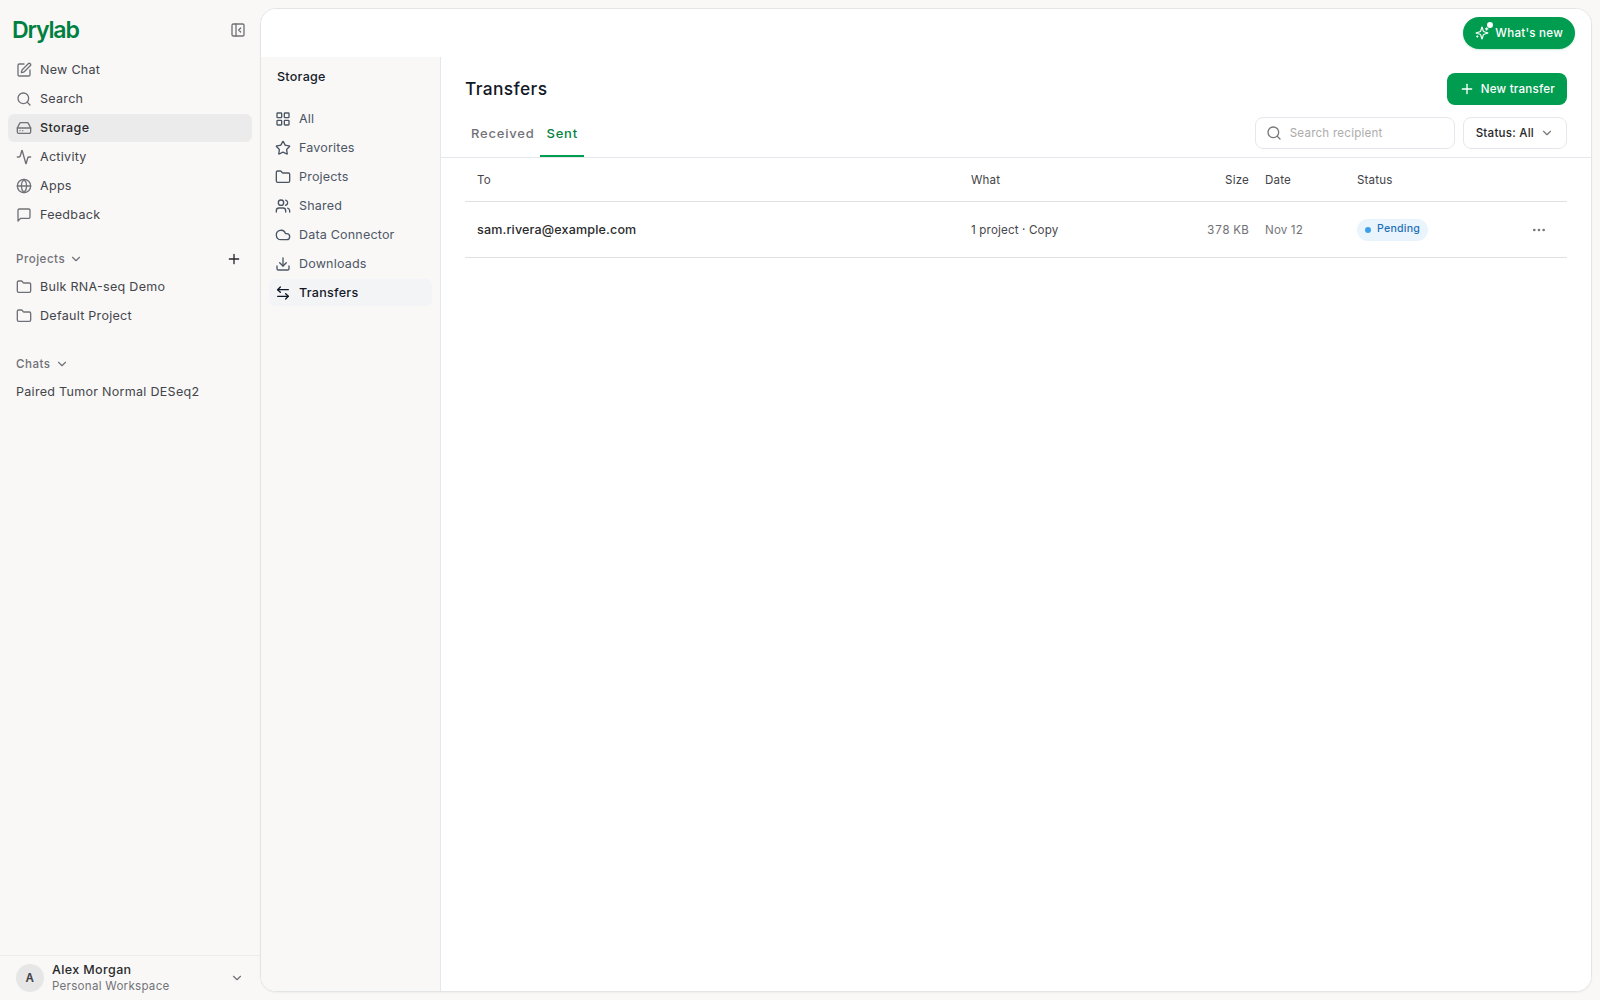
The Sent tab shows each transfer with its status:
| Status | What it means |
|---|---|
| Pending | Sent; the person hasn't imported it yet. |
| Importing | They're importing it now. |
| Imported / Partly imported | They imported all of it, or only some of it. |
| Declined | They declined it. |
| Cancelled / Expired | You cancelled it, or the 14 days ran out. |
A transfer's menu (...) has View details, Rename (only you see the name) and Copy recipient email. While it's still waiting you can Cancel transfer; once it's declined, cancelled or expired you can Send again. After a Move is imported, choose Delete originals… to remove your copies; the recipient keeps theirs. Nothing is deleted automatically.
Import a transfer sent to you
-
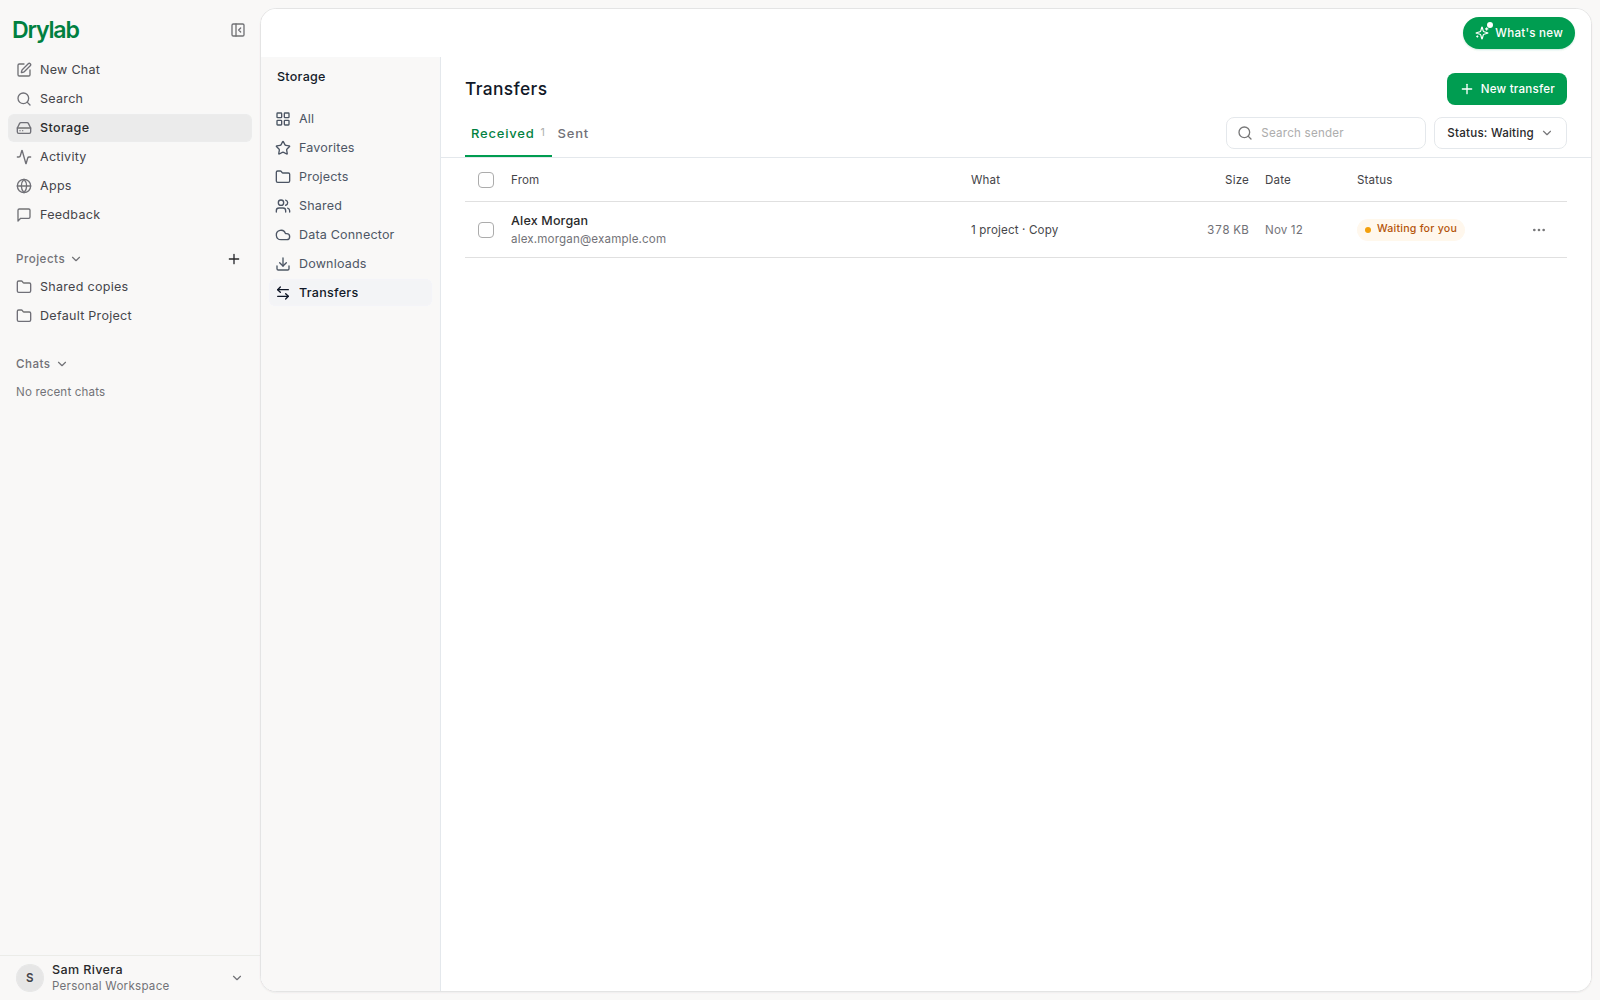
Open the link in the email, or go to Storage > Transfers > Received and click the transfer marked Waiting for you.
-
Check what was sent and the sender's message. Untick anything you don't want.
-
Goes into shows the workspace it will be added to and how much space it needs. If you belong to an organization, you can pick the workspace.
-
Click Import (for example Import 1 project).
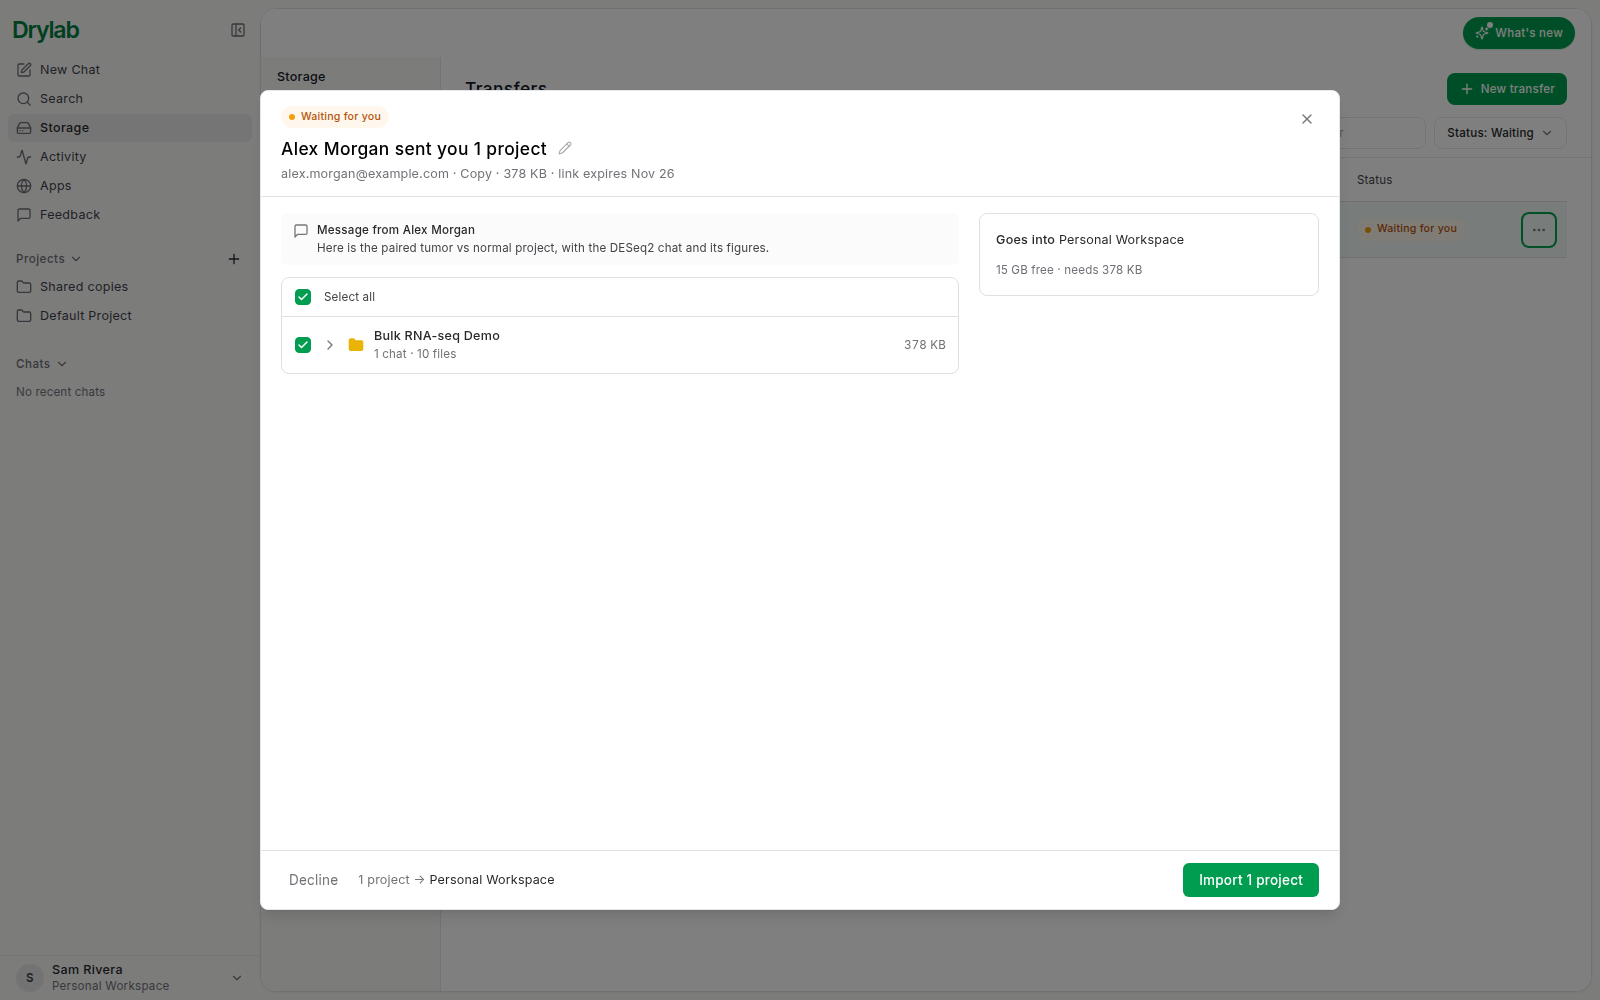
If you already have a project with the same name, the row says "You already have" it and Arrives as lets you choose: keep both (the new one gets a number, for example "Bulk RNA-seq Demo (2)"), Merge into yours, Replace or Skip. Replace overwrites your copy and can't be undone. Chats and files sent on their own go into a new project named like their source, or one you pick under Goes into. If there isn't enough space, deselect items or free up space first.
The import runs in the background; you can close the window. When it's done, click Open project (or Open chat) to go to it.
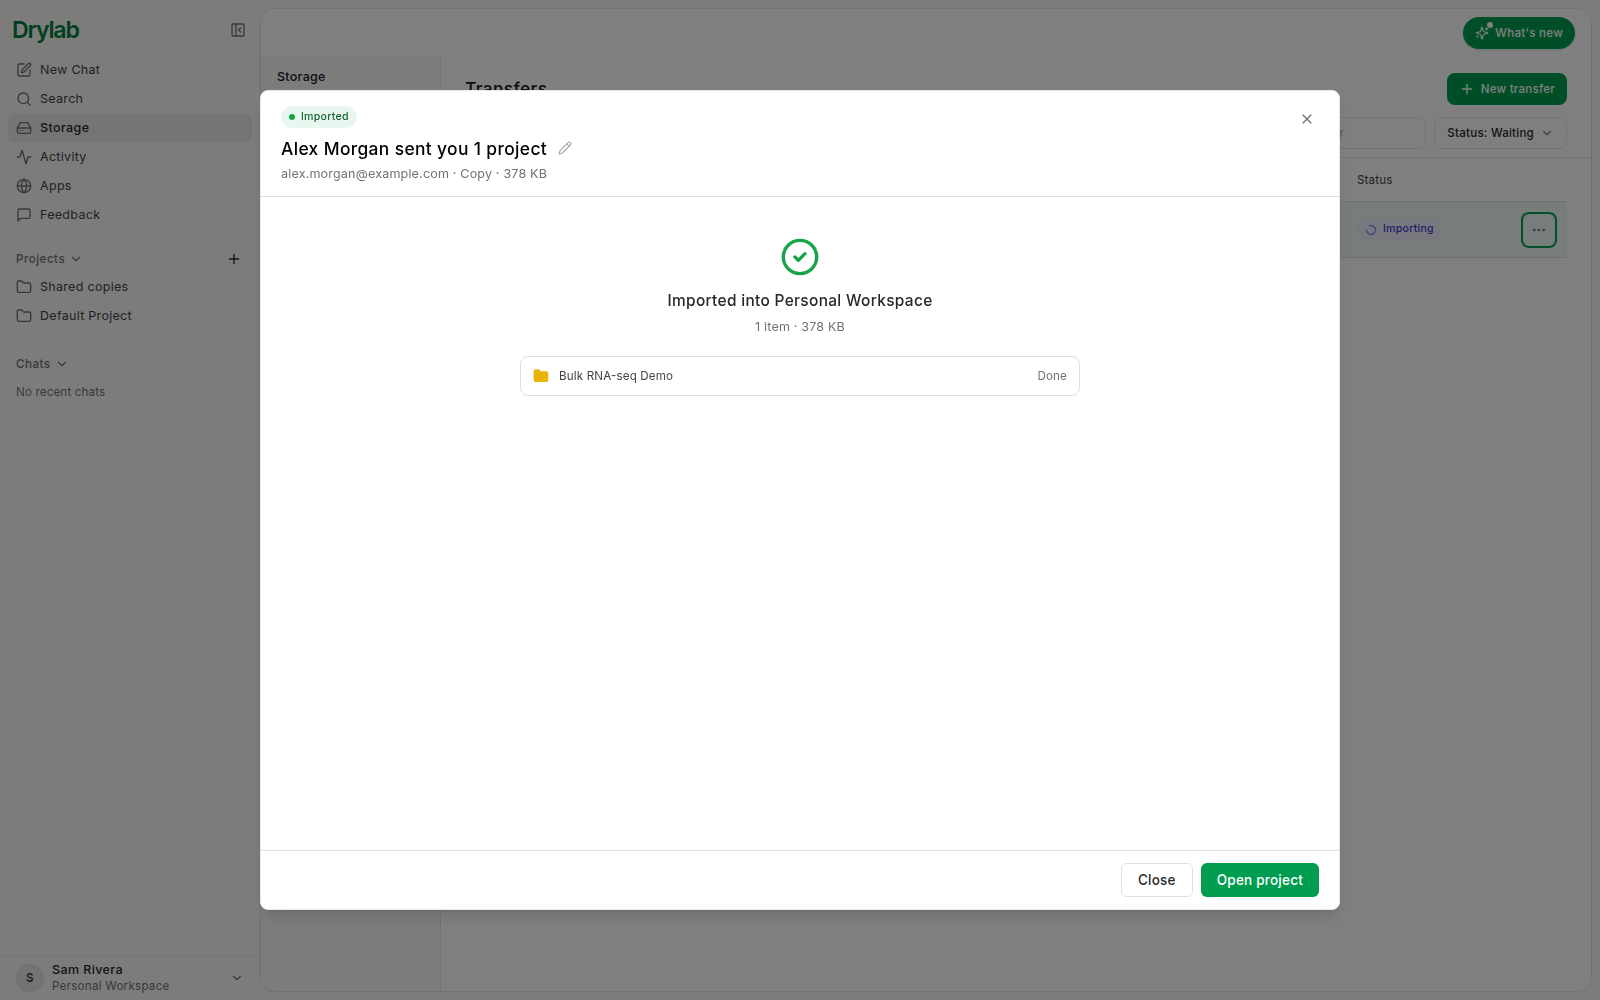
To refuse a transfer, click Decline. The sender is told, and you can't import it afterwards. To import several waiting transfers at once, tick them in Received and click Import N transfers.