Portal Apps
Share selected project files and an interactive results dashboard with your clients, without giving them access to your workspace.
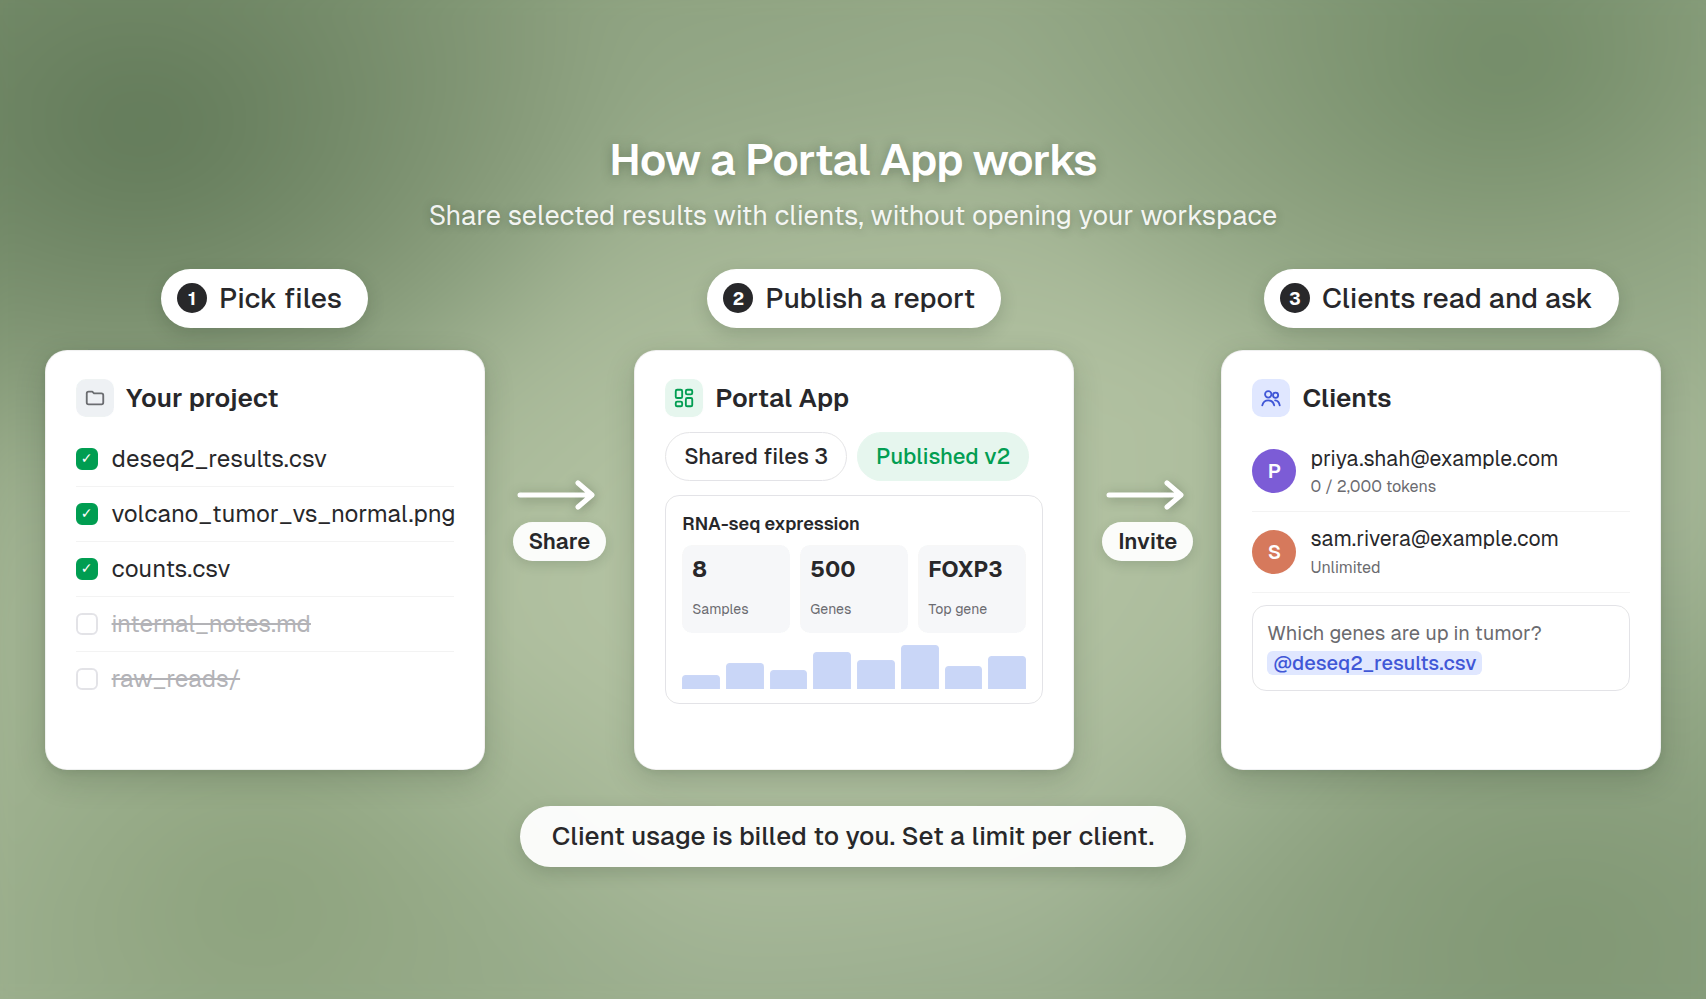
A Portal App is a private client portal. It shares selected files from one of your projects, plus an optional results dashboard, with the clients you invite. Clients sign in to a dedicated portal page where they read the report, browse the shared files, and ask Drylab's assistant questions about them.
Before you start
- An organization. Portal Apps live inside your organization, which is included in the Lab Plus, Lab Pro and Enterprise plans. You can create as many Portal Apps as you need.
- Your own account. Use your own Drylab account, not a team workspace you were invited to.
- A project with the files you want to share. Upload your data to a project in the Vault first.
Roles
| Role | Who they are | What they can do |
|---|---|---|
| Owner | You, the person who owns the organization | Create Portal Apps, share files, invite clients, build and publish dashboards, set client usage limits |
| Client | Someone outside your team whom you invited to one Portal App | Opens that portal only: reads the published dashboard, browses and downloads the shared files, asks the assistant questions, and keeps their own files in My files |
Create a Portal App
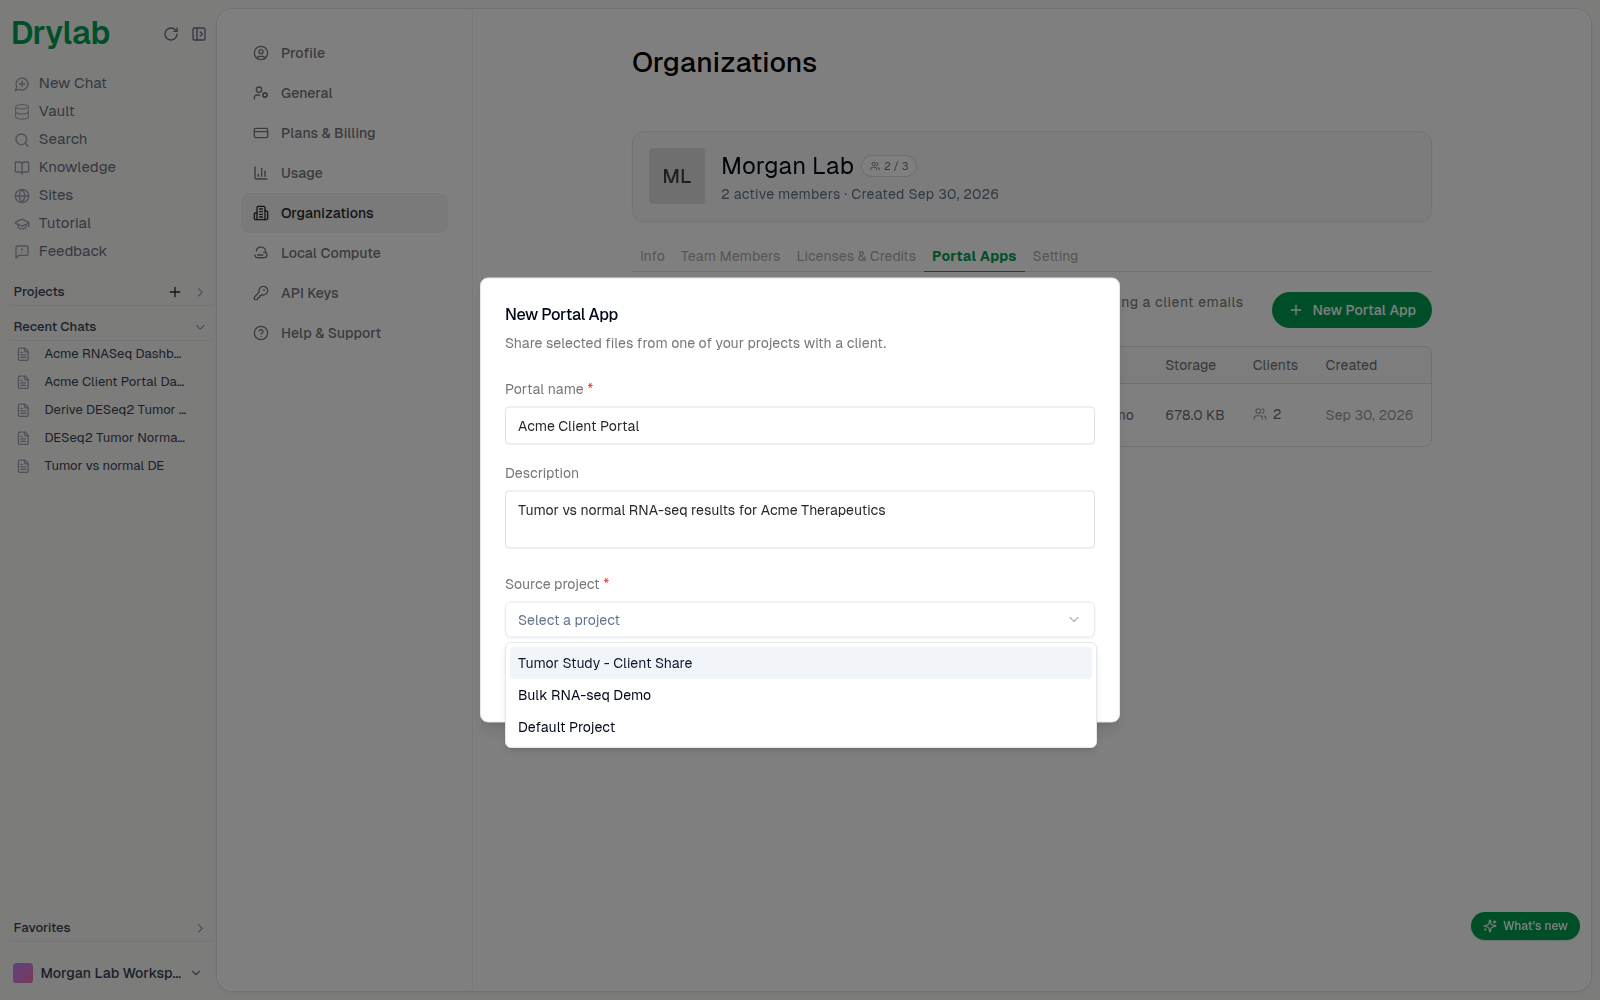
- Open Settings > Organizations and click the Portal Apps tab. The first time, it's empty.
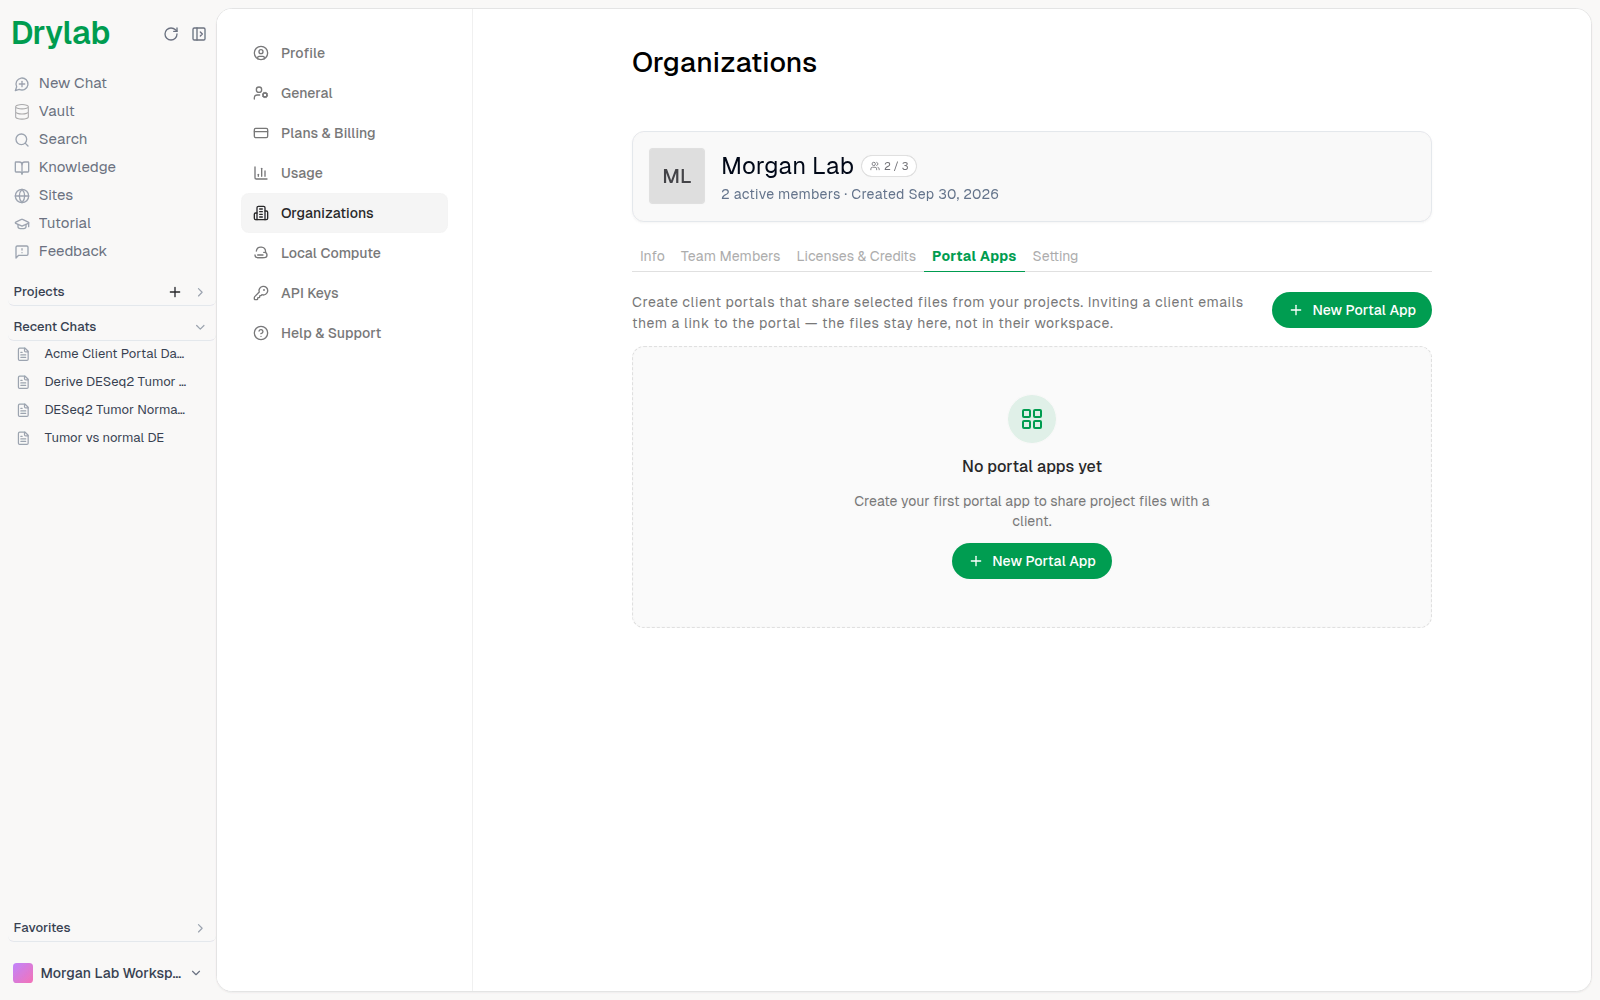
- Click New Portal App.
- Enter a Portal name, for example
Acme Client Portal. Clients see it as the portal title. - Optionally add a Description. Clients see it under the title.
- Open Source project and choose the project that holds the files you want to share.
Choose the files to share
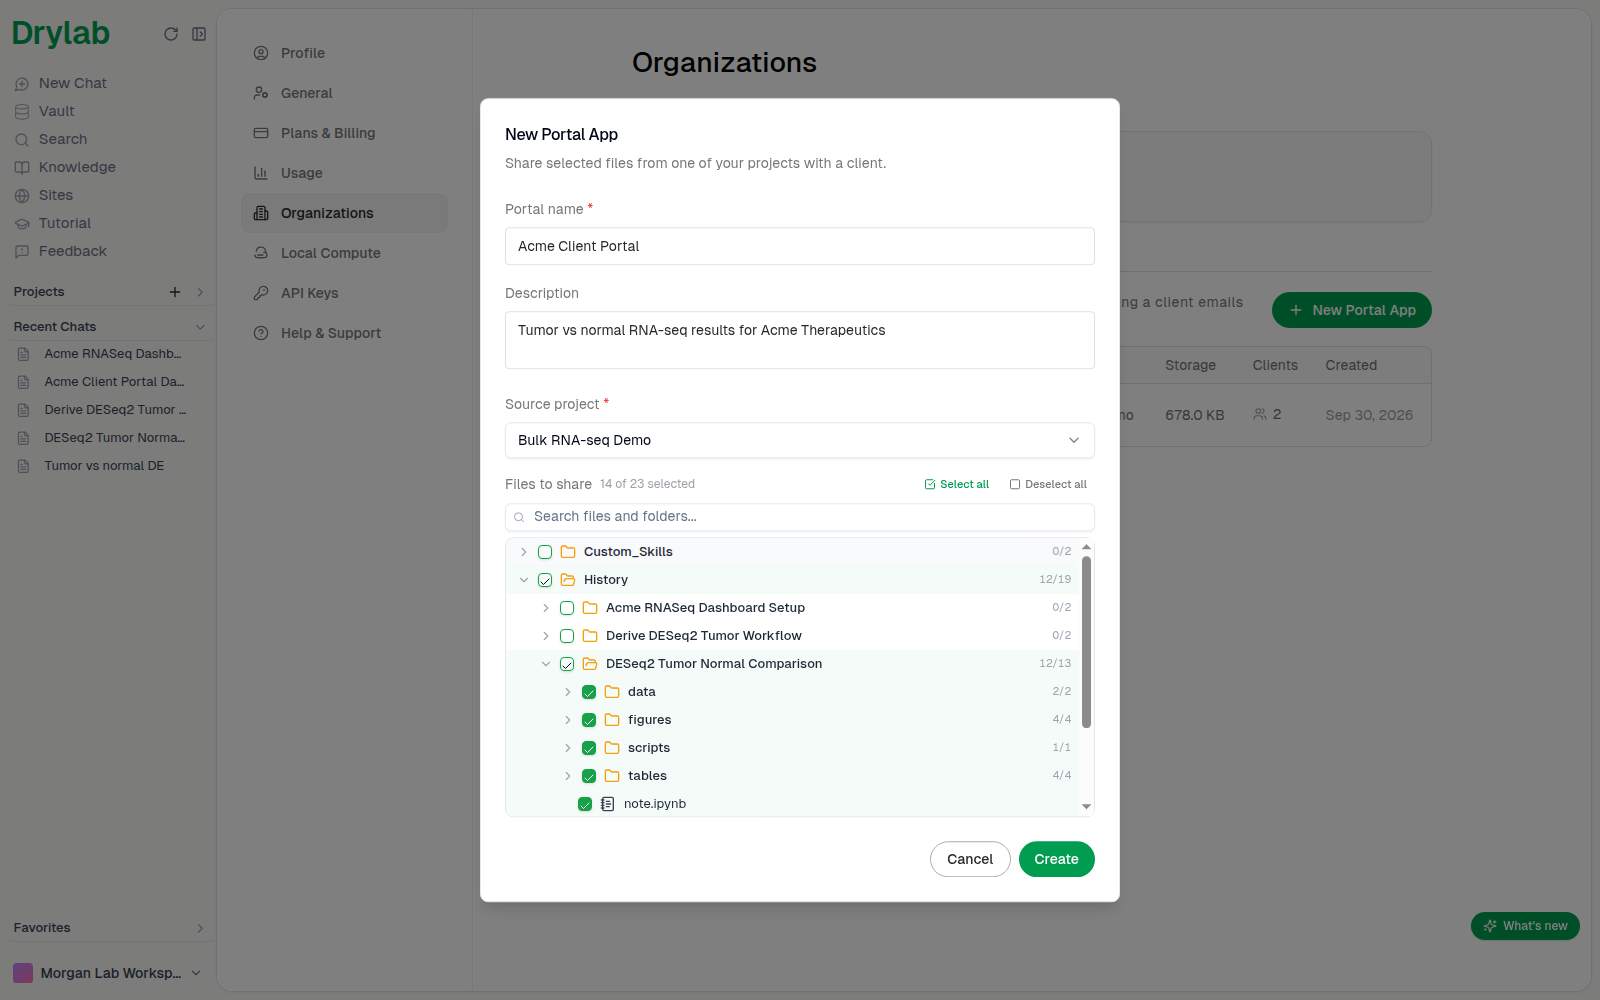
Once you pick a project, its file tree appears under Files to share. Everything in the project is selected by default.
- Clear the checkbox of any file or folder clients shouldn't see. Clients can preview and download every file you share.
- Use Select all or Deselect all for bulk changes, and the search box to find files.
- Sharing nothing for now is fine. You can add files later.
Click Create.
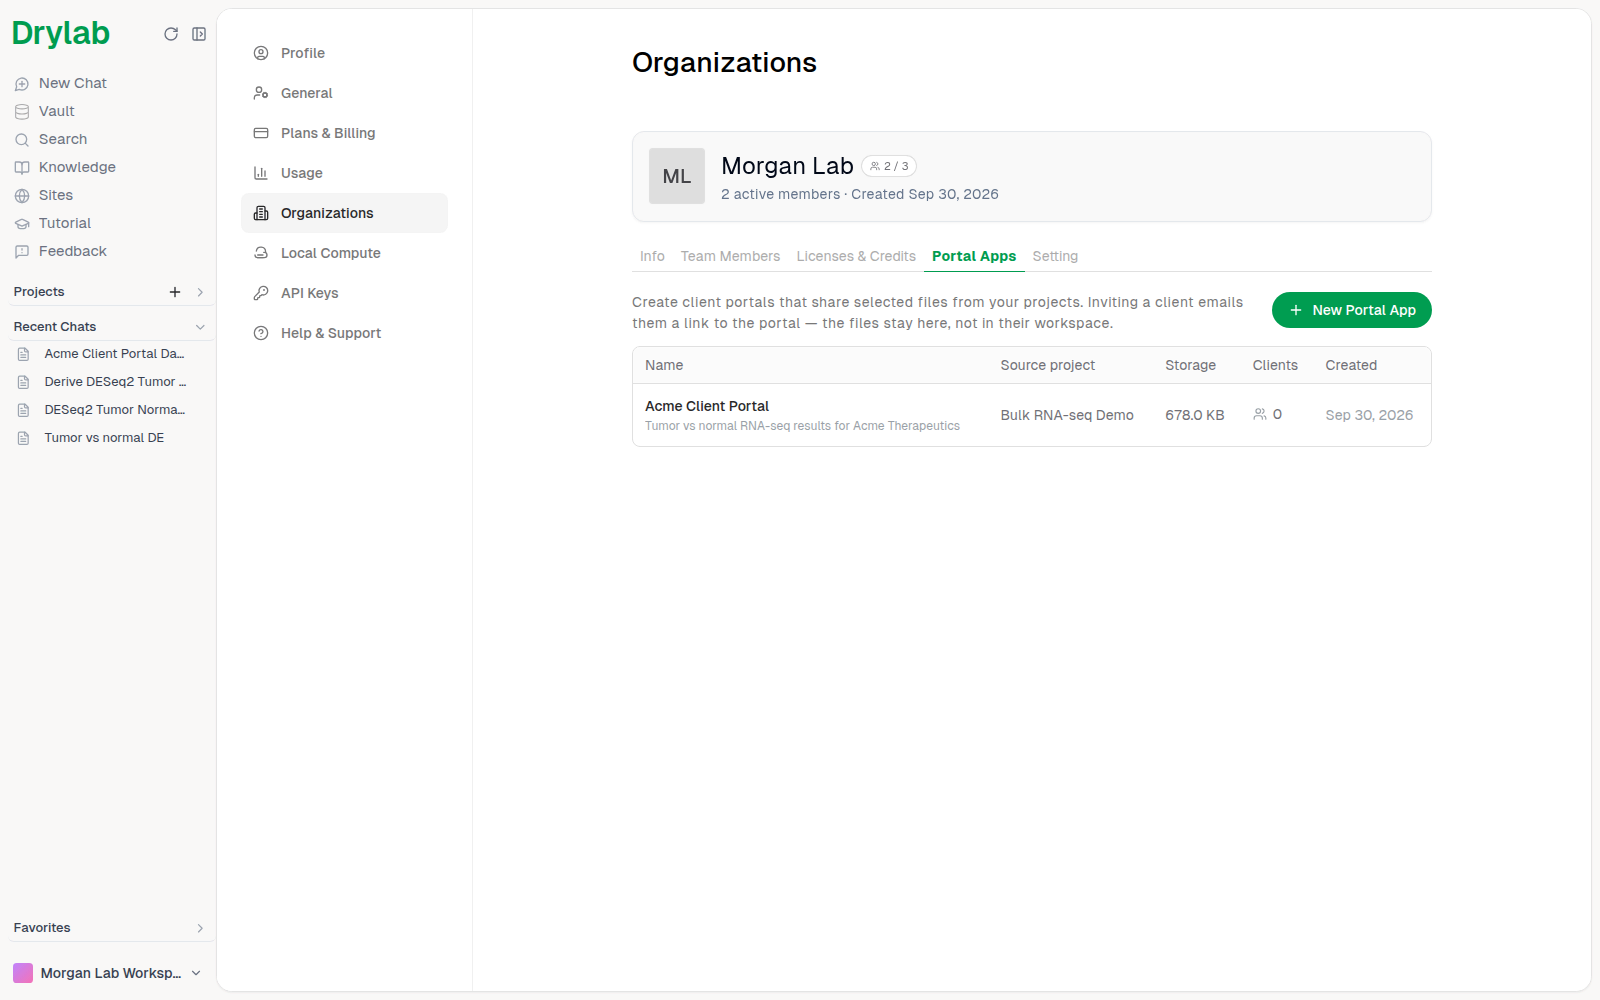
The new portal appears in the Portal Apps table with its source project, storage size, number of clients and creation date. Click a row to open it.
The portal page
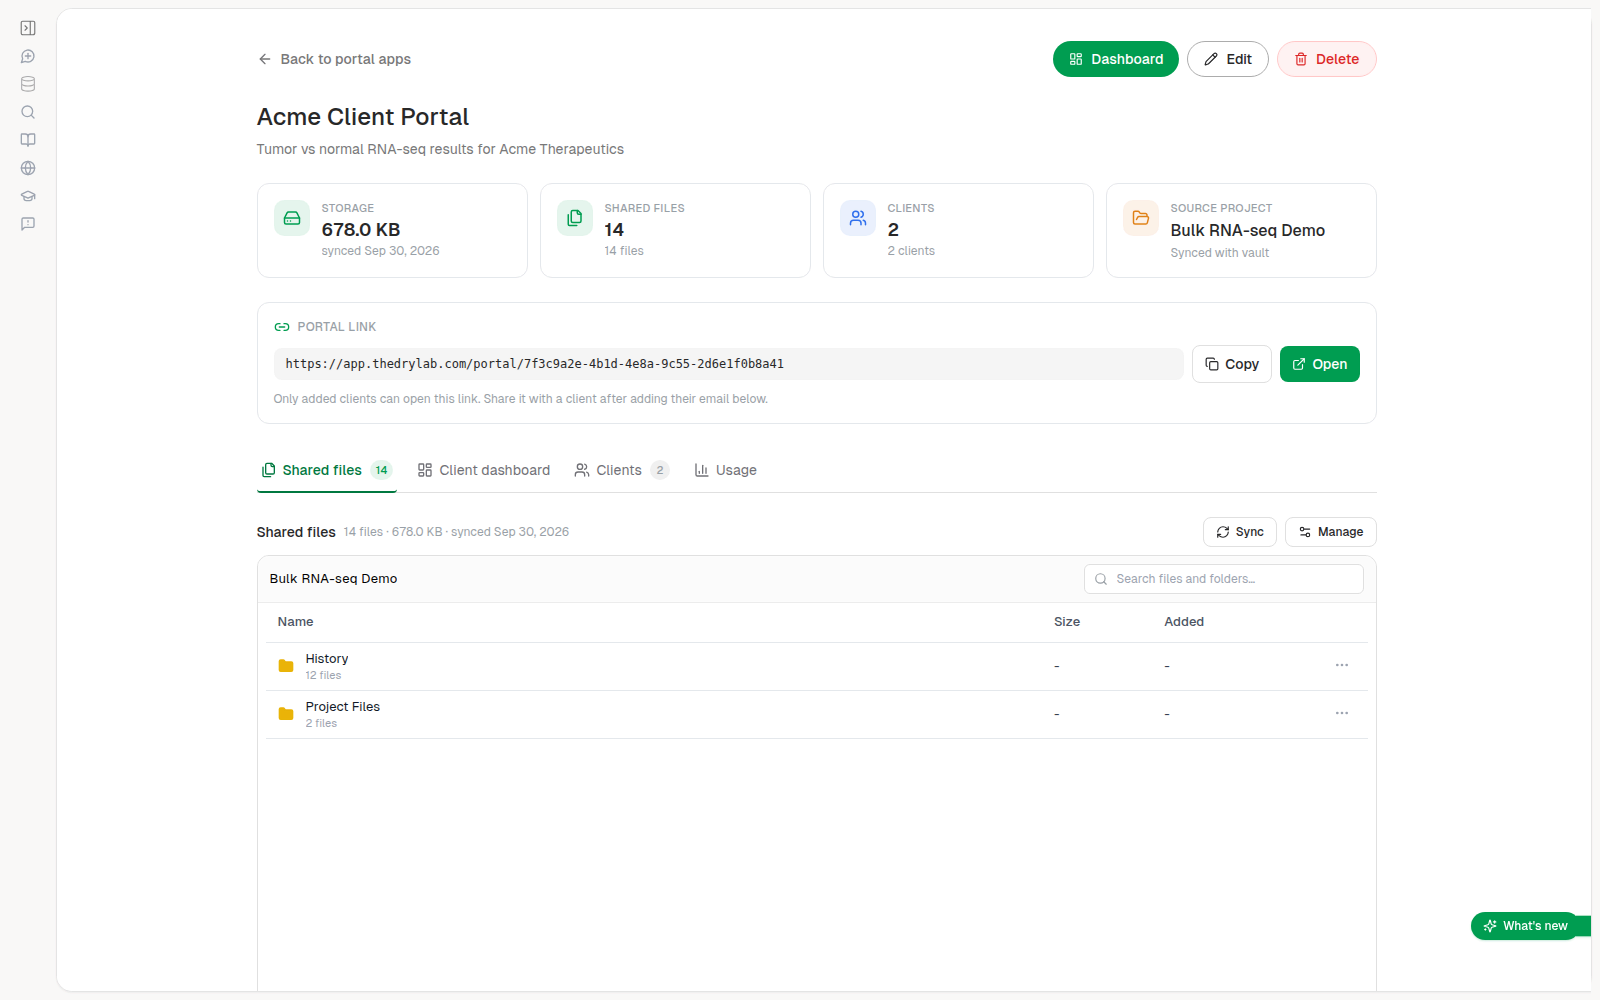
Opening a portal takes you to its management page:
- Back to portal apps returns to the list.
- Set up dashboard (it reads Dashboard once a dashboard is published), Edit and Delete sit at the top right.
- Summary cards show the Storage, the number of Shared files and Clients, and the Source project.
- Portal link is the address your clients use. Click Copy to copy it.
- The tabs are Shared files, Client dashboard, Clients and Usage.
Edit the portal details
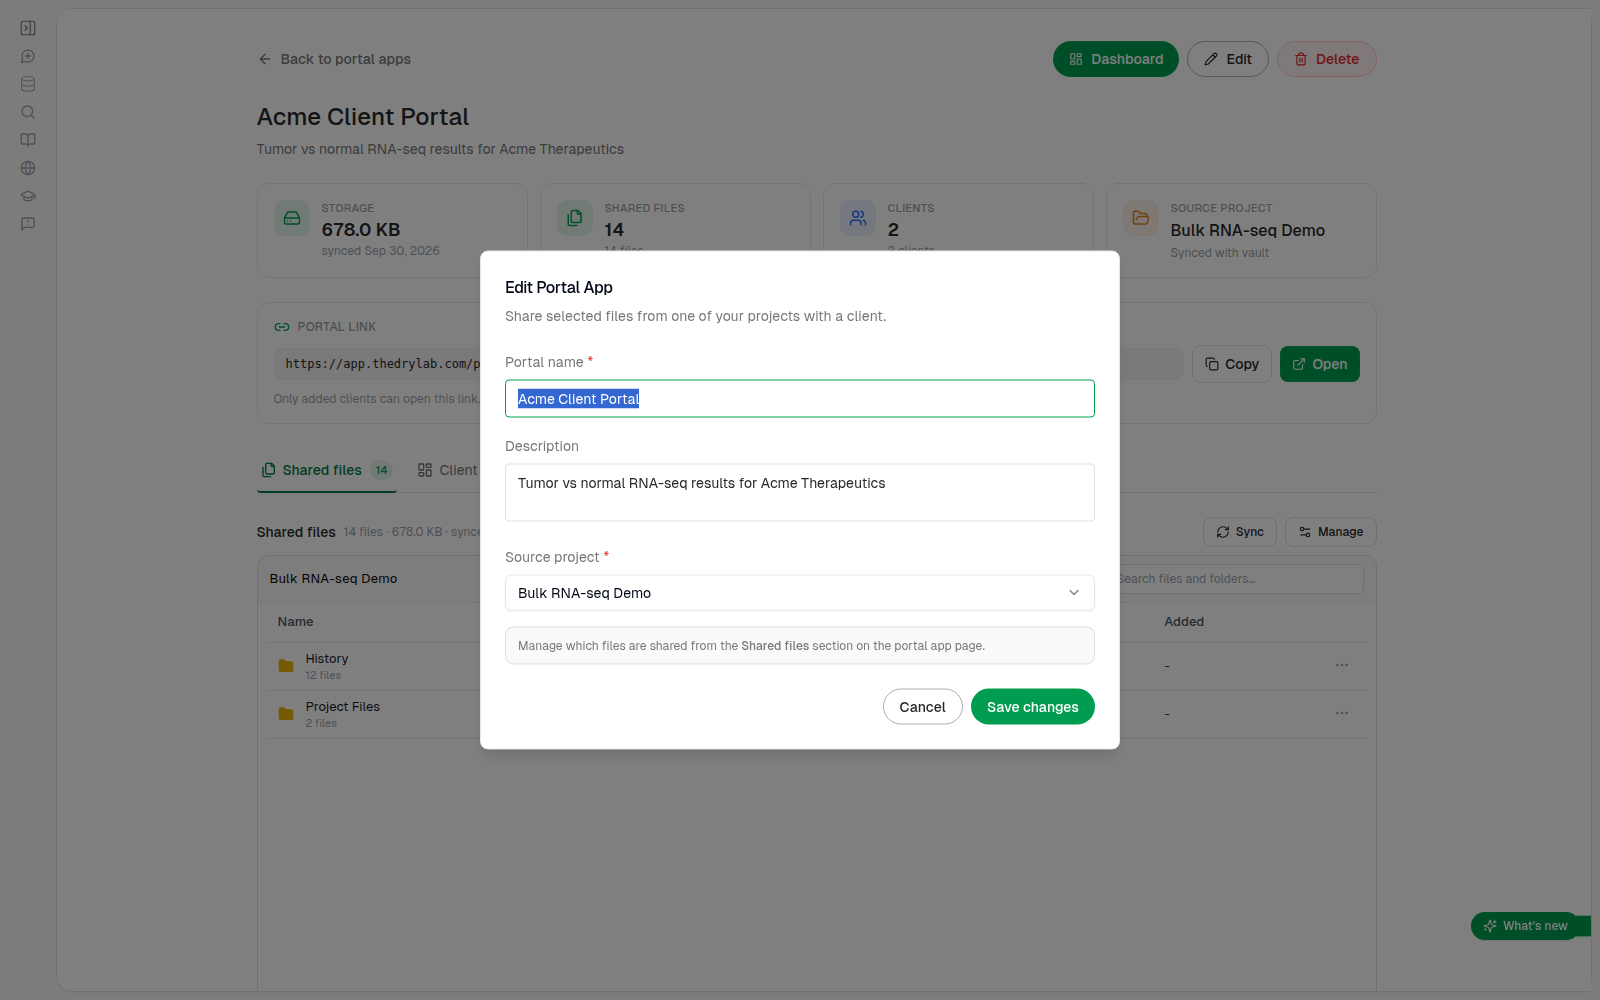
Click Edit to change the portal's name, description or source project, then click Save changes. To change which files are shared, use Manage instead. If you switch the source project, open Manage afterwards and check the selection.
Delete a Portal App
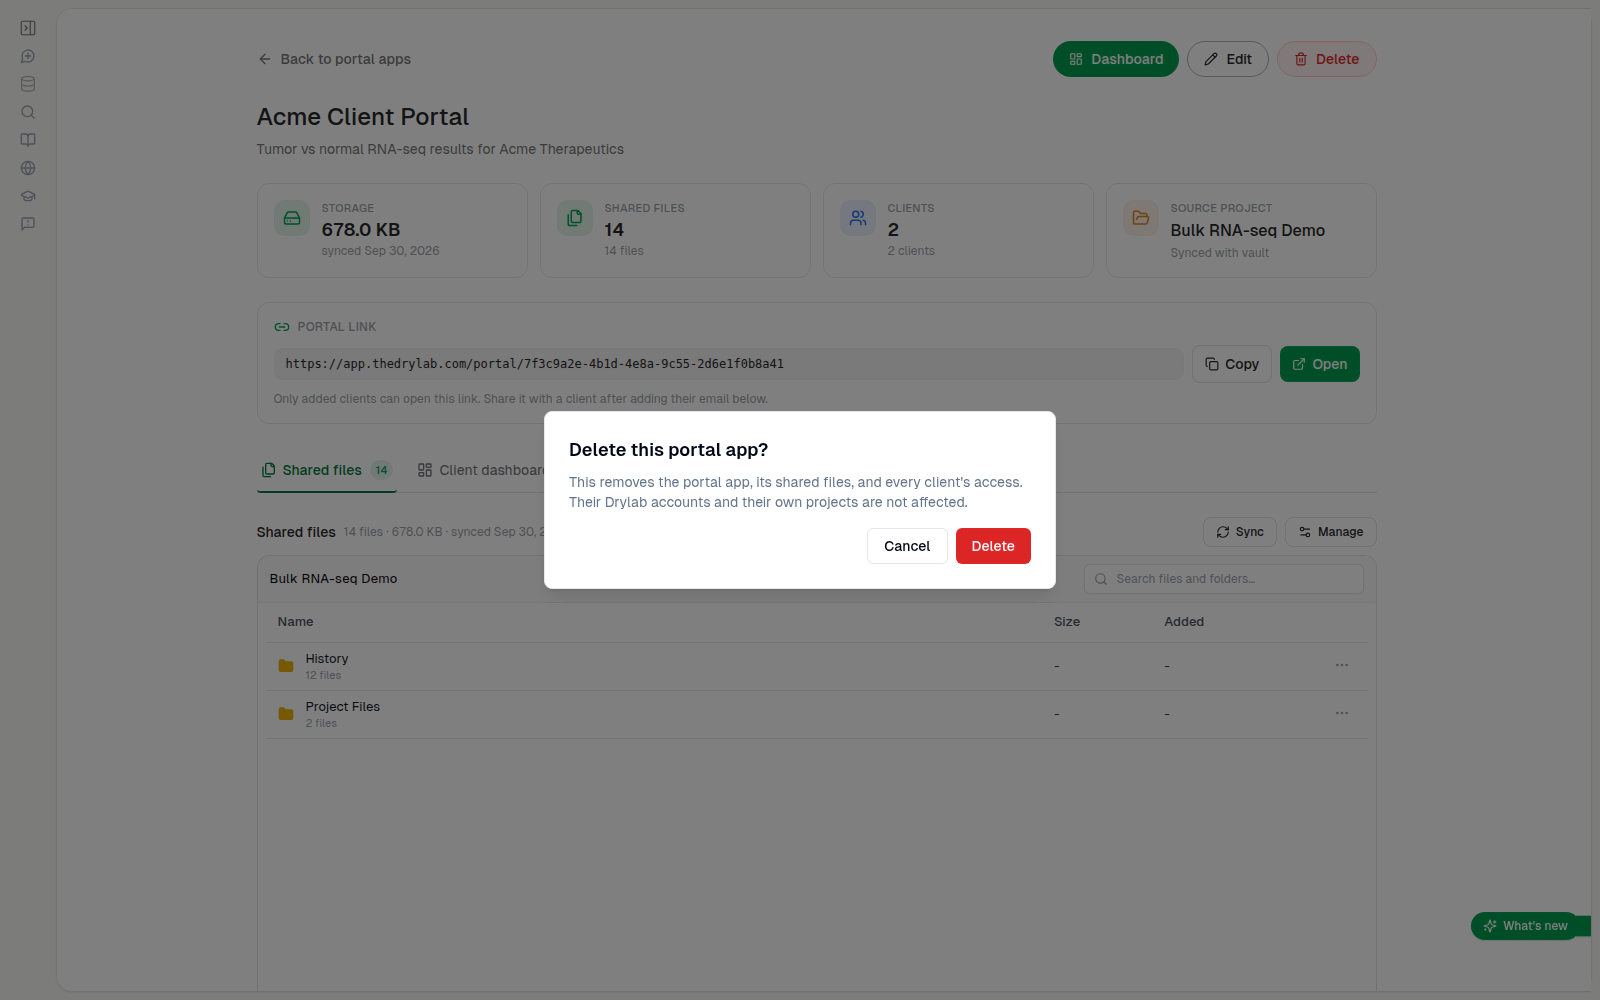
Click Delete, then confirm with Delete. This removes the portal, its shared files and every client's access. Clients also lose access to their My files for this portal. Their Drylab accounts and your original project files are not affected.